Roof Vent Installation: How To Install A Roof Vent
03.11.2025
9 Min Read
Proper ventilation is critical for the longevity and health of your roof, as well as the overall comfort of your home. A well-ventilated roof prevents heat buildup, reduces moisture, and helps lower your energy bills. One of the best ways to achieve this is by installing roof vents.
If you’re unsure where to start, don’t worry—this step-by-step guide will walk you through everything you need to know about roof vent installation. We’ll cover:
- Why roof vents are important
- A numbered guide for installing roof vents
- Pro tips for successful vent installation
🤔 Why Roof Vents are Essential
A well-ventilated roof is essential not only for maintaining comfort but also for protecting your home from potential damage. One of the key benefits of roof vents is their ability to prevent moisture damage. Without proper ventilation, condensation can build up in your attic, leading to issues like mold, mildew, and wood rot. These problems can compromise your home’s structure over time, resulting in costly repairs. Roof vents allow moisture to escape, ensuring your attic stays dry and your home remains safe from long-term damage.
Additionally, roof ventilation plays a critical role in extending the life of your shingles and improving your home’s energy efficiency. When excess heat gets trapped under your roof, it can cause shingles to deteriorate more quickly, leading to premature wear and tear. Proper ventilation helps keep your roof cool, preserving the lifespan of your shingles. It also helps regulate your home’s temperature throughout the year—by releasing trapped hot air in the summer and reducing the strain on insulation during winter. This not only makes your home more comfortable but also lowers your energy bills by improving overall efficiency. For modern homeowners, investing in quality roof ventilation is a smart move that protects your home while saving you money in the long run.
Types of Roof Vents
Not all roof vents are the same. Understanding the various types will help you choose the ideal option for your home.
- Ridge Vents: Run along the roof peak for continuous airflow, often paired with soffit vents for better ventilation.
- Box Vents: Small, fixed roof openings that provide targeted ventilation.
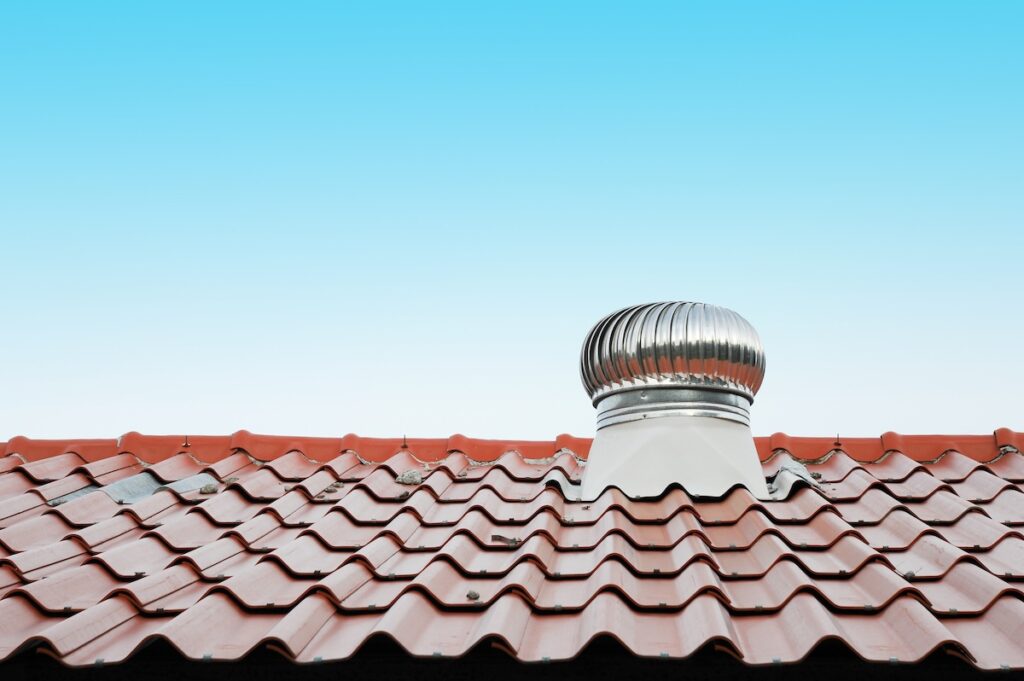
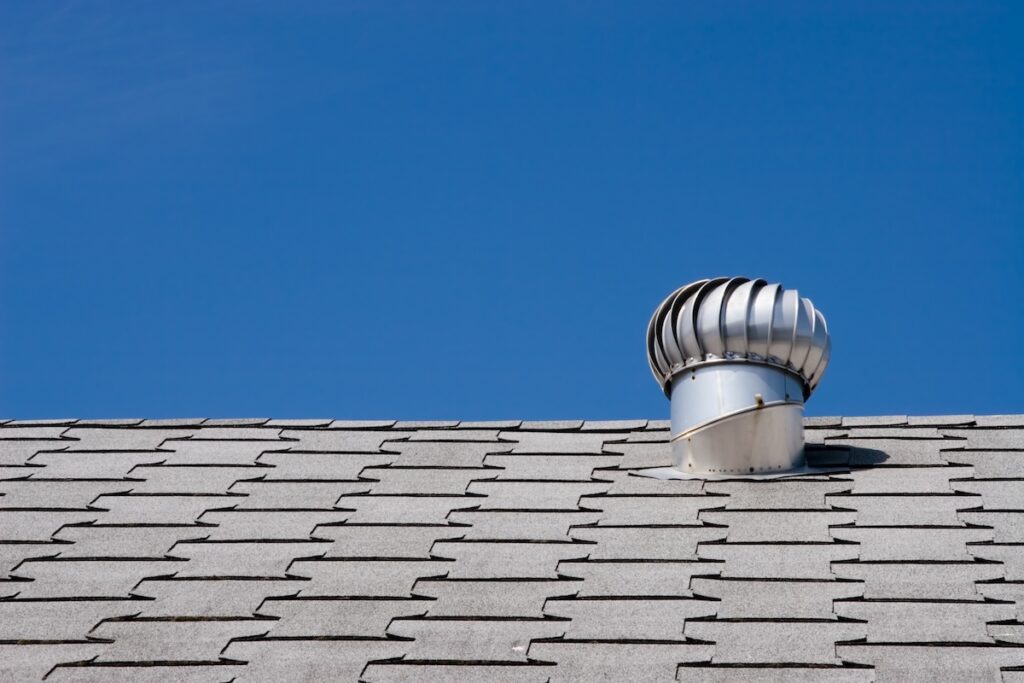
- Turbine Vents: Use wind to rotate and pull air out, perfect for windy areas.
- Powered Vents: Electric or solar-powered for active airflow, though more costly to install.
✅ 6 Steps To Install Roof Vents
Roof vent installation is a do-it-yourself project you can handle with the right tools and prep. Follow these six steps for a successful installation.
1. Plan the Vent Placement
Start by identifying the optimal location for the vent to ensure efficient airflow through your attic. Proper ventilation is crucial for regulating temperature, reducing moisture buildup, and preventing issues like mold or roof damage. Vents are typically installed near the roof’s peak because hot air naturally rises, making this the most effective spot for heat to escape. When choosing the location, consider several factors, including the design of the roof, the layout of the attic, and any existing ventilation systems. If your roof already has intake vents, ensure the new vent placement complements the overall airflow pattern. Additionally, avoid areas where structural obstructions, such as beams or joists, may interfere with installation. Take your time to evaluate different positions to achieve the best ventilation performance while minimizing potential obstacles.
2. Mark the Cutting Area
Once you’ve selected the ideal location for the vent, it’s time to mark the cutting area. Use the base of the vent as a template to outline the opening. Carefully place the vent at the chosen spot and trace its shape with a pencil, marker, or chalk. Make sure the outline is clear and visible, as this will guide your cutting process. Before making any cuts, double-check the measurements and alignment of the outline to ensure accuracy. A misaligned opening can lead to improper installation, reduced functionality, or even water leaks. Some vents may have alignment markers or instructions that can help you position the template accurately. Taking the time to verify the markings will save you from potential errors and ensure a seamless installation process.
3. Cut the Vent Opening
With the cutting area marked, you can now proceed to create the vent opening. Using a circular saw or jigsaw, carefully cut along the outline you traced. If you’re working on a sloped roof, take extra precautions to maintain stability and balance while cutting. Be sure to wear proper safety gear during this step, including goggles to protect your eyes from flying debris, gloves to shield your hands, and a dust mask if needed. Cut slowly and steadily, ensuring clean and precise edges. A poorly cut opening can result in gaps, leading to improper vent placement and potential leaks. After cutting, remove any loose debris or sawdust from the area to prepare the surface for vent installation. Inspect the opening to ensure it matches the size and shape of the vent base.
4. Install the Vent
Now that the vent opening is ready, it’s time to position and secure the vent itself. Place the vent into the opening, making sure it fits snugly and sits flush with the roof surface. Double-check that the vent is aligned correctly, as tilting or uneven placement can compromise its performance and aesthetics. Once the vent is properly positioned, use screws or nails to firmly attach it to the roof. Drive the fasteners through the pre-drilled holes in the vent base, ensuring even spacing for a secure hold. For additional stability, you may want to use roofing adhesive or sealant beneath the edges of the vent base before securing it. This will help create a tight seal and prevent movement caused by wind or weather.
5. Apply Flashing and Sealant
To ensure the installation is watertight, apply flashing around the base of the vent. Flashing is a thin, waterproof material designed to direct water away from openings and protect your roof from leaks. Cut the flashing to size and position it over the vent base, ensuring it overlaps properly with the surrounding shingles. Once in place, secure the flashing with nails or roofing adhesive. Next, apply a generous bead of roofing sealant along the edges of the flashing and around the vent base. Use a putty knife or similar tool to smooth the sealant and ensure complete coverage. Pay close attention to any gaps or seams, as these can allow water to seep through over time. Properly applied flashing and sealant are key to maintaining the integrity of your roof and preventing water damage.
6. Replace Shingles
If any shingles were removed or disturbed during the vent installation, carefully replace them to restore the roof’s appearance and functionality. Inspect the area around the vent to ensure there are no gaps or exposed sections of roofing. Trim the shingles as needed to fit snugly around the vent base and flashing. When positioning the shingles, align them with the existing pattern on your roof to maintain a uniform look. Secure the shingles with roofing nails, placing them close to the edges to ensure a tight fit. For added protection, apply a small amount of roofing sealant over the nail heads to prevent water infiltration. Once the shingles are in place, inspect the entire area to confirm that everything is securely fastened and sealed. Properly replaced shingles not only enhance the finished look of your roof but also provide critical protection against weather elements.
💡 Pro Tips for Successful Roof Vent Installation

Proper roof vent installation is crucial for maintaining airflow, preventing moisture buildup, and extending the lifespan of your roof. A well-ventilated roof protects your home from costly damage and ensures energy efficiency.
Choose the Right Vent Type
Selecting the right vent type is crucial for effective roof ventilation. Consider your climate and roof structure when making this decision. For example, ridge vents are a popular choice but work best when paired with soffit vents to ensure proper airflow. Research different vent options, such as box vents or turbine vents, to find the best fit for your home and ventilation needs.
Prioritize Safety
Safety should always come first when working on your roof. Use a sturdy, stable ladder and wear appropriate safety gear, such as non-slip shoes and a harness if needed. Avoid working in unfavorable weather conditions, like high winds or rain, which can increase the risk of accidents. Taking proper precautions will help you complete the installation safely and efficiently.
Seal Thoroughly
Proper sealing is essential to prevent leaks and maintain the longevity of your roof vent. Use high-quality sealants around the edges of the vent to create a watertight seal. This step will protect your roof from water damage, drafts, and potential structural issues. Regularly inspect the sealed areas to ensure they remain intact over time.
Consult a Professional
If you’re unsure about cutting into your roof or handling a complex installation, it’s always a good idea to consult a professional. Roofing experts have the experience and tools to ensure the job is done correctly and safely. While DIY projects can be rewarding, enlisting professional help can save you time, money, and potential headaches in the long run.
🛠️ Roof Vent Installation
When it comes to roof vent installation, trusting the right team makes all the difference. At Barkley-Jensen Roofing, we combine expertise, high-quality materials, and exceptional service to ensure your home stays protected and comfortable for years to come.
With our experienced professionals and commitment to customer satisfaction, you can rest easy knowing your roofing needs are in the best hands. Ready to enhance your home with proper roof ventilation? Contact Barkley-Jensen Roofing today for a free inspection and get started!