How to Shingle a Roof (7-Step Asphalt Shingles Installation)
06.10.2025
7 Min Read
Shingling a roof is no small task. But with the right tools, knowledge, and guidance, you can protect your home from the elements and enhance its curb appeal. Whether you’re replacing an old roof or starting from scratch, this guide will walk you through the essential steps on how to shingle a roof properly.
Here’s what we’ll cover in this post:
- Understanding the basics of shingling
- 7 steps to install asphalt shingles
- Tips for maintaining your roof after installation
🤔 What Does Shingling a Roof Entail?
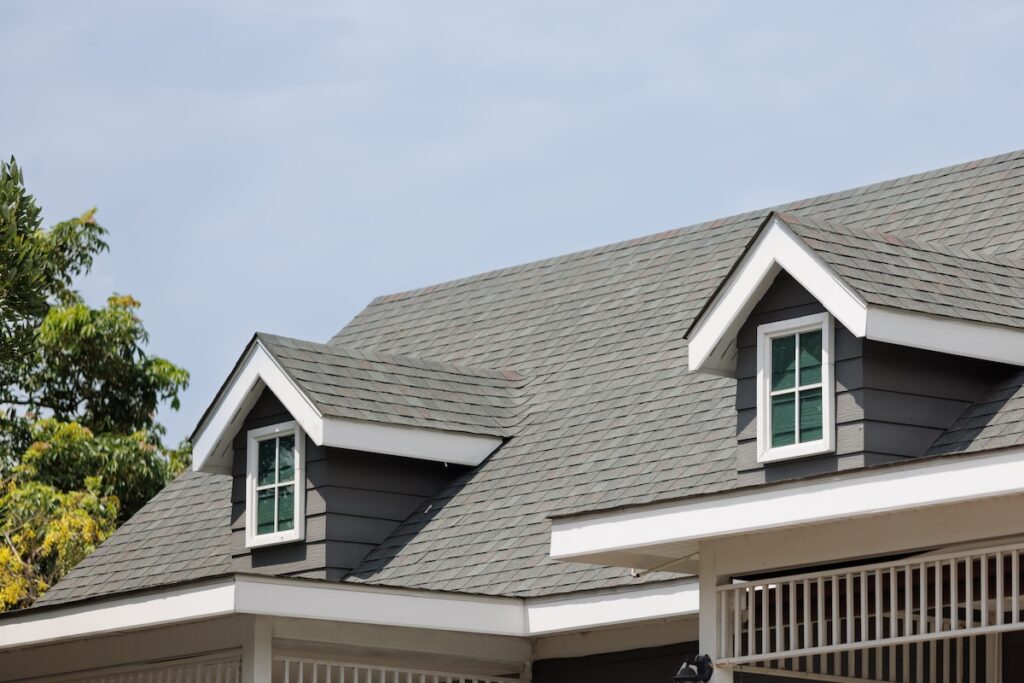
Shingling a roof is the process of installing overlapping layers of asphalt shingles to protect a home’s structure from rain, snow, and UV damage. Asphalt shingles are one of the most popular roofing materials because of their affordability, durability, and wide range of styles.
While the task itself demands a great deal of precision and effort, the end result is a weather-tight, aesthetically pleasing roof that can last decades.
Essential Tools and Materials Needed
Before starting your roofing project, ensure you have the following tools and materials ready to go:
- Roofing hammer or nail gun
- Roofing blade or utility knife
- Chalk line
- Measuring tape
- Roofing shovel (for tear-off)
- Ladder and roof jacks for safety
- Asphalt shingles
- Roofing nails
- Roof underlayment
- Starter strip shingles
- Ridge cap shingles
- Ice and water shield
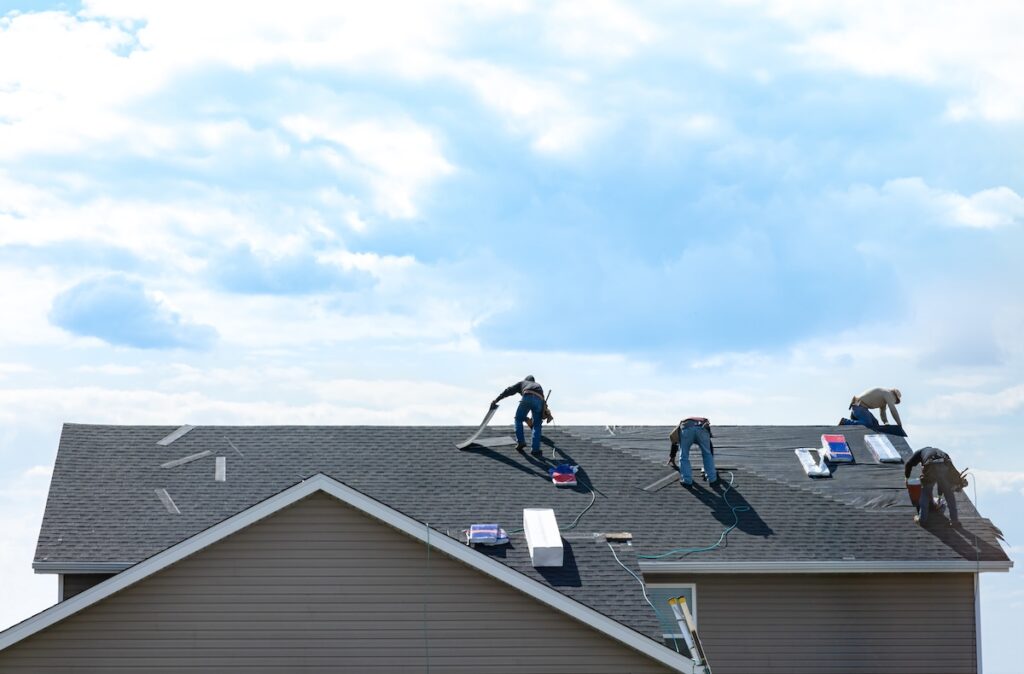
✅ 7 Steps to Install Asphalt Shingles

Installing asphalt shingles correctly is essential to ensure your roof is durable, weather-resistant, and long-lasting. Proper installation also helps prevent leaks and costly repairs down the line.
1. Remove Old Roofing Materials
The first step in replacing a roof is to remove all old materials, including shingles, nails, and debris. Use a roofing shovel or pry bar to strip away the existing shingles. Pay attention to any stubborn nails or leftover adhesive, as these can interfere with the new roofing installation. A clean surface is essential for ensuring that the new shingles adhere properly, creating a durable and long-lasting roof. Take the time to clear the roof down to the decking and inspect for any damage that may need repairs before moving forward.
2. Install Roofing Felt or Underlayment
Once the old materials are removed, cover the roof surface deck with roofing felt or underlayment. This layer acts as an additional moisture barrier, protecting your home from potential leaks. Roll out the felt or underlayment across the roof, starting at the bottom edge and working your way up. Overlap each layer by at least two inches to prevent gaps that could allow water to seep through. Secure the material with staples or nails, ensuring it is smooth and free of wrinkles for a solid base.
3. Apply Ice and Water Shield
Ice and water shield is critical for areas most vulnerable to leaks, such as valleys, roof edges, and places prone to water pooling. This material provides an extra layer of protection against heavy rain, snow, and ice dams. Cut the ice and water shield to fit the specific areas, then adhere it directly to the roof deck. Make sure it is firmly pressed down and properly sealed at the edges to maximize its effectiveness. This step is especially important for homes in colder climates.
4. Position the Starter Strip
The starter strip shingles are installed at the edge of the roof to create a strong foundation for the main rows of shingles. These strips are designed to provide wind resistance and protect the edge of the roof from damage. Align the starter strip carefully along the edge of the roof and secure it using nails. Ensure the strip is straight, as this will determine the alignment of the subsequent rows of shingles. A properly positioned starter strip sets the stage for a professional-looking finish.
5. Begin Laying Shingles
With the starter strip in place, you can start laying the main rows of shingles. Begin at the bottom edge of the roof and work your way up. Align the first row of shingles with the starter strip, ensuring a straight and even placement. Use a chalk line to guide your rows and maintain consistency. Follow the manufacturer’s instructions for proper nailing and overlapping, as these details are key to the roof’s durability. Continue layering shingles, overlapping each row slightly, until you reach the roof’s peak.
6. Install Ridge Cap Shingles
After all the main rows of shingles are installed, finish by adding ridge cap shingles to the peak of the roof. These specially designed shingles provide additional protection against wind and water while giving the roof a polished, finished look. Position the ridge cap shingles so they overlap slightly, covering the top row of shingles. Nail them securely in place, following the manufacturer’s guidelines. This final step ensures that the roof is sealed and protected from the elements.
7. Inspect and Clean Up
Before considering the job complete, perform a thorough inspection of the roof. Check that all shingles are properly aligned, securely fastened, and free of gaps or loose edges. Look for any areas that may need additional attention or sealing. Once the inspection is complete, clean up the worksite. Remove any leftover materials, nails, and debris to leave the area safe and tidy. A clean finish not only ensures safety but also reflects the quality of the work done.
💡 Tips for Maintaining Your Roof After Installation
Your newly-shingled roof is an investment, and proper maintenance will keep it in great shape for years to come.
Schedule Regular Inspections
Make it a habit to inspect your roof at least twice a year, ideally in the spring and fall. Look for signs of damage, such as loose or missing shingles, cracks, or water stains. Catching these issues early can save you from costly repairs down the road. Don’t forget to check the attic for any signs of leaks or moisture as well.
Keep It Clean
Debris like leaves, branches, and dirt can pile up on your roof, trapping moisture and leading to mold, rot, or even structural damage. Regularly clean your roof and gutters to ensure water flows freely and doesn’t pool in unwanted areas. A clean roof not only protects your home but also enhances its appearance.
Ensure Proper Ventilation
Good roof ventilation is crucial for preventing moisture buildup, which can lead to mold, mildew, and wood rot. Check that your attic has adequate airflow, with vents properly functioning. A well-ventilated roof also helps regulate indoor temperatures, improving energy efficiency.
Trim Nearby Trees
Overhanging branches pose a significant risk to your roof, especially during storms or high winds. They can scrape against the shingles, causing damage, or fall and create major issues. Regularly trim back trees near your home to prevent branches from coming into contact with your roof. This proactive step can save you from unexpected repairs.
🏠 The Steps To Shingle a Roof
Shingling a roof is a complex and labor-intensive task that requires precision, skill, and the right materials to ensure lasting protection for your home. While it’s great to understand the process, having a professional you can trust makes all the difference. At Barkley-Jensen Roofing & Restoration, we bring years of experience, top-quality materials, and a commitment to customer satisfaction to every project.
Whether you need a roof replacement or professional installation, our team delivers results that stand the test of time. Don’t leave your roof to chance—contact us today to schedule your consultation and let us handle your roofing needs with care and expertise!