How to Install Metal Roofing: Tools, Process, & More
09.23.2025
7 Min Read
A metal roof is a fantastic investment for your home, offering durability, energy efficiency, and a sleek, modern look. While installing a metal roof can be a complex project best left to professionals, understanding the process is valuable for any homeowner. Whether you’re a seasoned DIYer considering the challenge or simply want to know what to expect from your roofing contractor, this guide will walk you through the essential steps.
We’ll cover everything you need to know about how to install metal roofing, from gathering the right materials to the final inspection. Here’s a look at what this guide includes:
- Tools and materials needed for metal roof installation
- Preparing your roof for metal panels
- 10 steps to install metal roofing
- Safety precautions for installing metal roofing
Tools and Materials Needed for Metal Roof Installation
Before starting any roofing project, it’s crucial to have the right tools and materials on hand. Proper equipment ensures the job is done safely, efficiently, and correctly.
Essential Tools
Having the right tools is the first step toward a successful installation. Here’s a list of what you’ll typically need:
- Safety Gear: Always prioritize safety. This includes a sturdy ladder, a safety harness, non-slip roofing shoes or boots, safety glasses, and durable work gloves.
- Measuring and Marking Tools: A measuring tape, chalk line, and pencils are essential for ensuring your panels are straight and correctly aligned.
- Cutting Tools: You will need tools to cut the metal panels and trim. Tin snips are great for small, detailed cuts, while power shears or a nibbler are better for long, straight cuts. Avoid using a circular saw with an abrasive blade, as it can damage the protective coating on the panels.
- Fastening Tools: A screw gun with a torque setting is necessary to drive the fasteners without stripping them. You’ll also need a drill for pre-drilling holes where required.
- Sealing Tools: A caulk gun is needed to apply sealant along panel seams, flashing, and trim to create a watertight seal.
Necessary Materials
The materials list extends beyond just the metal panels. You’ll need a complete system to ensure your roof is weatherproof and long-lasting.
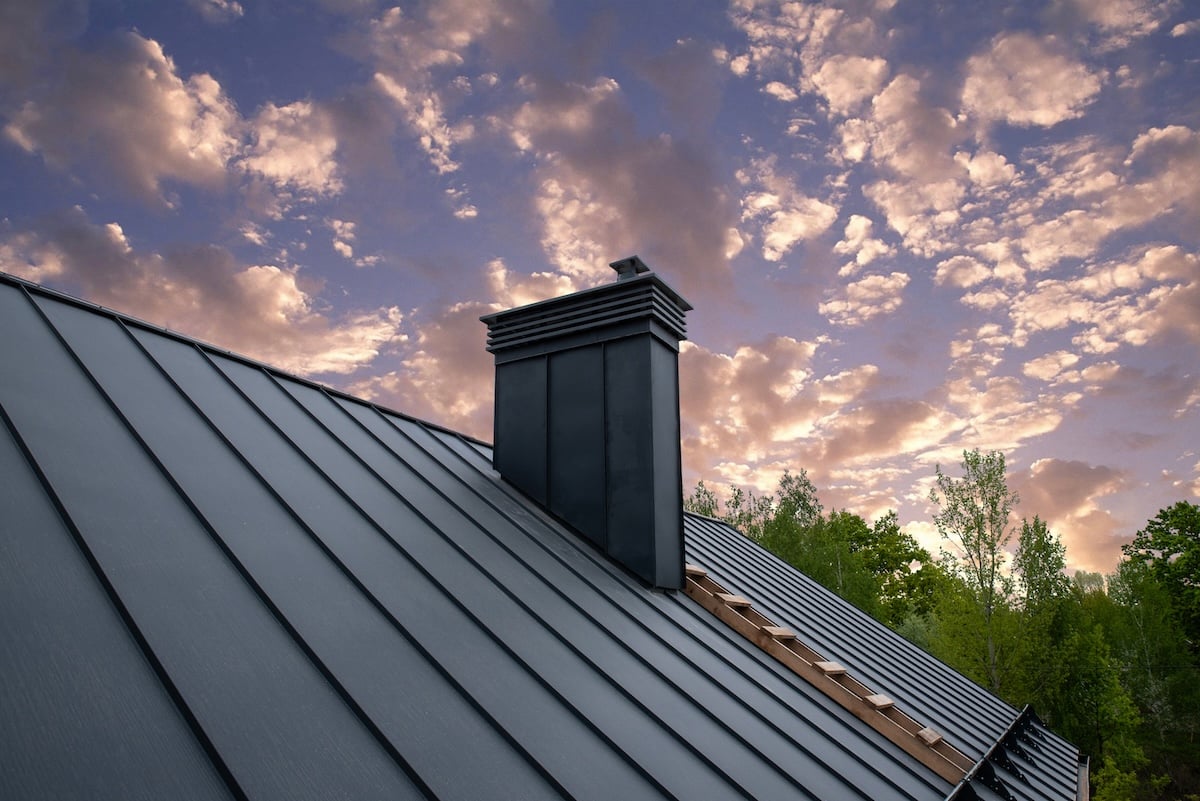
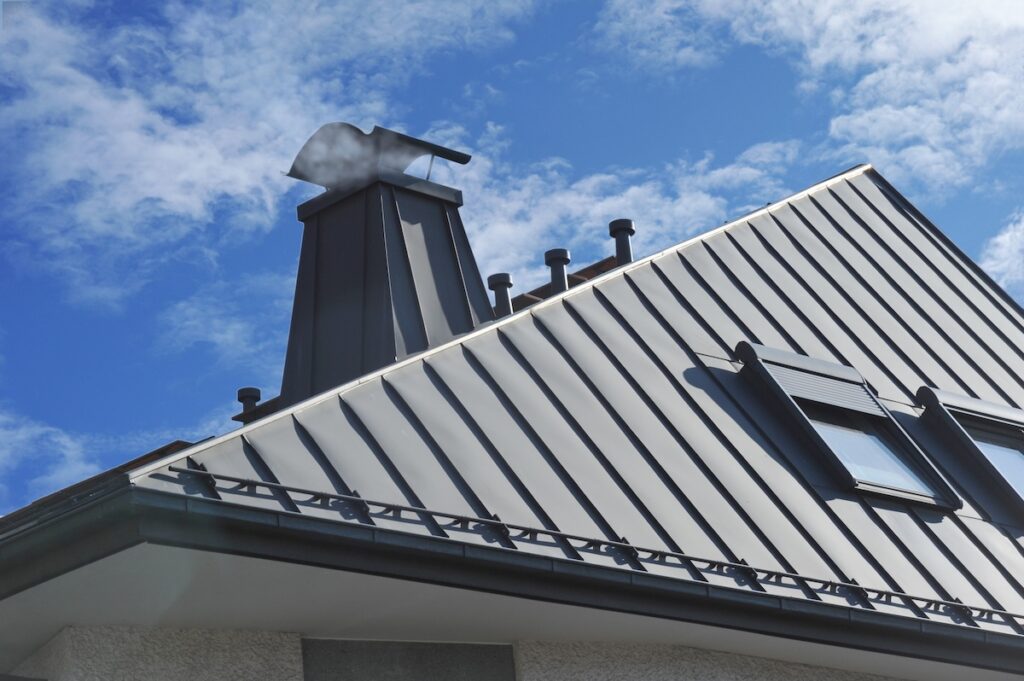
- Metal Roofing Panels: These are the main component of your new roof. They come in various profiles, such as standing seam or corrugated.
- Underlayment: A high-quality, synthetic underlayment is crucial. It acts as a secondary water barrier, protecting your roof deck from moisture.
- Trim and Flashing: This includes eave trim, gable trim, ridge caps, and valley flashing. These components seal the edges of the roof and prevent water from getting underneath the panels.
- Fasteners: Use screws specifically designed for metal roofing. These screws come with a rubber washer that creates a seal when tightened.
- Sealant: A high-quality, non-curing butyl sealant is required for sealing overlaps and joints.
Preparing Your Roof for Metal Panels
Proper preparation is the foundation of a durable and weather-resistant roof. Before the first panel goes on, the existing roof deck must be ready.
Inspecting and Repairing the Roof Deck
Start with a thorough inspection of your existing roof deck. Look for any signs of damage, such as soft spots, rot, or water stains. Any damaged sheathing must be replaced to provide a solid, stable base for the new metal roof. Ensure the entire surface is clean, dry, and free of debris.
Installing the Underlayment
Once the roof deck is sound, the next step is to install the underlayment.
- Roll out the synthetic underlayment starting from the bottom edge of the roof (the eave) and working your way up to the peak.
- Overlap each course according to the manufacturer’s instructions, typically by at least six inches. This ensures water running down the roof won’t get under the underlayment.
- Secure the underlayment to the roof deck using cap nails or staples. Make sure it lies flat and is free of wrinkles.
10 Steps to Install Metal Roofing
With the preparation complete, you can begin the installation process. Follow these steps carefully to ensure your metal roof is installed correctly.
- Install Eave Trim (Drip Edge): The eave trim is installed along the bottom edge of the roof. It helps direct water away from the fascia and into the gutters. Secure it with roofing nails or screws.
- Install Gable Trim: The gable trim is installed along the sloped sides of the roof. It provides a finished look and protects the edges of the roof from wind and rain.
- Lay the First Panel: Start at one end of the roof. Place the first metal panel so it overhangs the eave by about 1 to 1.5 inches. Ensure the panel is perfectly square with the roofline using a framing square.
- Fasten the First Panel: Secure the panel to the roof deck using the recommended screw pattern from the manufacturer. Drive the screws through the flat part of the panel, ensuring the rubber washer is compressed enough to form a seal but not over-tightened.
- Install Subsequent Panels: Place the next panel so it overlaps the first one. Most metal roofing systems have a designed overlap. Apply a bead of butyl sealant along the seam before overlapping the panels to ensure a watertight seal.
- Fasten the Remaining Panels: Continue fastening each panel as you did with the first, working your way across the roof. Check for squareness periodically to keep the panels aligned.
- Cut Panels for Obstructions: You will likely need to cut panels to fit around vents, chimneys, or skylights. Measure carefully and use your cutting tools to make precise cuts.
- Install Flashing: Install flashing around all roof penetrations. This is a critical step for preventing leaks. The flashing should be installed under the uphill panel and over the downhill panel.
- Install the Ridge Cap: Once all panels are in place, install the ridge cap at the peak of the roof. The ridge cap covers the gap between the panels on either side of the roof. Use foam closure strips under the ridge cap to seal out wind-driven rain and pests.
- Final Inspection: Walk the roof carefully to inspect your work. Check all fasteners to ensure they are properly seated. Look for any gaps in the sealant or flashing and make any necessary touch-ups.
Tools and Materials Checklist
To install metal roofing efficiently, gather all necessary items beforehand.
- Metal roofing panels (corrugated, standing seam, etc.)
- Underlayment (synthetic or felt)
- Drip edge flashing
- Closure strips (foam or rubber)
- Screws with washers
- Circular saw or metal shears
- Tape measure, chalk line, and level
- Safety harness and roof jacks
Having the right tools not only improves installation speed but also reduces safety risks.
Metal Roofing vs. Other Materials
Still deciding if metal is the best fit? Here’s how it compares:
| Feature | Metal Roofing | Asphalt Shingles | Clay/Concrete Tile |
| Lifespan | 40–70 years | 15–30 years | 40–75 years |
| Weight | Lightweight | Medium | Heavy |
| Fire Resistance | High | Varies | High |
| Maintenance | Low | Medium | Medium |
| Energy Efficiency | High (reflective) | Low | Medium |
Metal excels in longevity and energy savings. While the upfront cost can be higher, the long-term value is typically superior.
Care and Maintenance Tips
While metal roofs are low-maintenance, they’re not maintenance-free. Follow these tips for optimal performance:
- Inspect Annually: Check for loose screws, sealant degradation, or flashing issues
- Clean Debris: Remove branches, leaves, and buildup from valleys and gutters
- Avoid Walking: Use walk boards if you must access the roof to prevent denting panels
- Trim Trees: Prevent overhanging branches that could scratch or damage the surface
- Reapply Sealant: Every 10–15 years depending on product and weather exposure
Safety Precautions for Installing Metal Roofing
Working on a roof is inherently dangerous. Metal roofing can be particularly slippery, especially when wet or dusty.
- Always Wear a Harness: Use a properly secured safety harness, especially on steep-pitched roofs.
- Choose the Right Day: Avoid working in wet, windy, or icy conditions.
- Handle Panels with Care: Metal panels can have sharp edges. Always wear gloves when handling them.
- Ladder Safety: Ensure your ladder is on stable, level ground and extends at least three feet above the roofline.
Trust the Experts at Barkley-Jensen
Installing a metal roof is a significant undertaking that requires precision, the right tools, and a strong focus on safety. While this guide provides a comprehensive overview of how to install metal roofing, the complexity and risks involved often make it a job best suited for experienced professionals.
If you’re considering a new metal roof, contact us today for a consultation. Let us handle the hard work while you enjoy the peace of mind that comes with a professionally installed, durable, and beautiful new roof.