Roof Flashing Repair (Cost, Methods, & DIY Tips)
11.18.2025
8 Min Read
Few parts of a roofing system are as critical—and often overlooked—as flashing. This thin layer of metal protects the seams and edges of your roof from water intrusion, especially around chimneys, vents, skylights, and valleys. When flashing fails, leaks follow. Understanding roof flashing repair helps homeowners in Garner and surrounding areas prevent costly water damage, mold growth, and premature roof replacement.
Even small cracks or corrosion in flashing can lead to big problems over time. Learning how to identify, fix, or replace flashing correctly is key to protecting your home’s structure and maintaining a watertight seal. If you suspect an issue or want to understand how flashing fits into the overall system, visit our roofing page to see how professional installation keeps your roof performing at its best.
Here’s what you’ll learn in this guide:
- What roof flashing does and why it matters
- Signs your flashing needs repair or replacement
- Step-by-step methods for repair and DIY tips
- Typical costs and how professionals handle the job
Why Roof Flashing Repair Is So Important
Flashing serves as your roof’s first line of defense where shingles meet vertical structures. Without it, rainwater would find its way into even the smallest cracks. Proper flashing installation and maintenance are vital for long-term roof integrity.
- Prevents Leaks: Flashing directs water away from joints and seams, the most vulnerable areas on your roof.
- Protects Structural Wood: Moisture that seeps under shingles can rot decking, rafters, and fascia boards.
- Stops Mold and Mildew Growth: A dry roof cavity prevents humidity buildup and mold spores from forming.
- Extends Roof Lifespan: Preventing water intrusion helps shingles and underlayment last longer.
- Improves Energy Efficiency: Dry insulation maintains its effectiveness, reducing energy waste.
For homes in Garner and surrounding areas—where seasonal rains and humidity are common—flashing repair isn’t just maintenance; it’s an essential part of home protection.
Common Types of Roof Flashing
Before jumping into repair methods, it helps to know where flashing exists and what types are most likely to need attention.
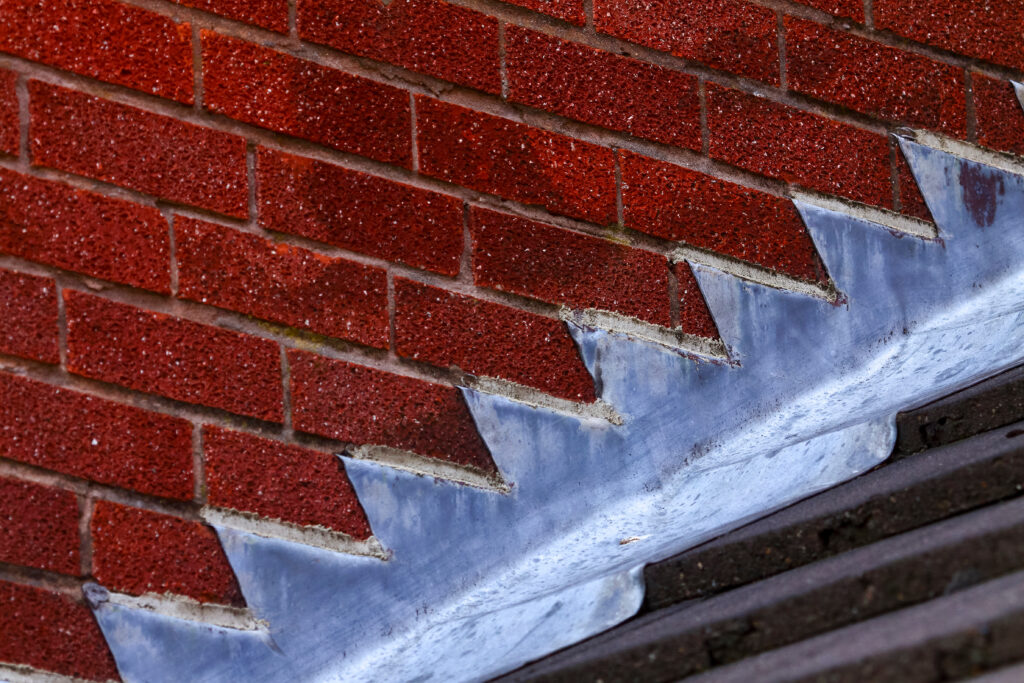
- Step Flashing: Installed where the roof meets vertical walls (like dormers or chimneys), overlapping each shingle to redirect water.
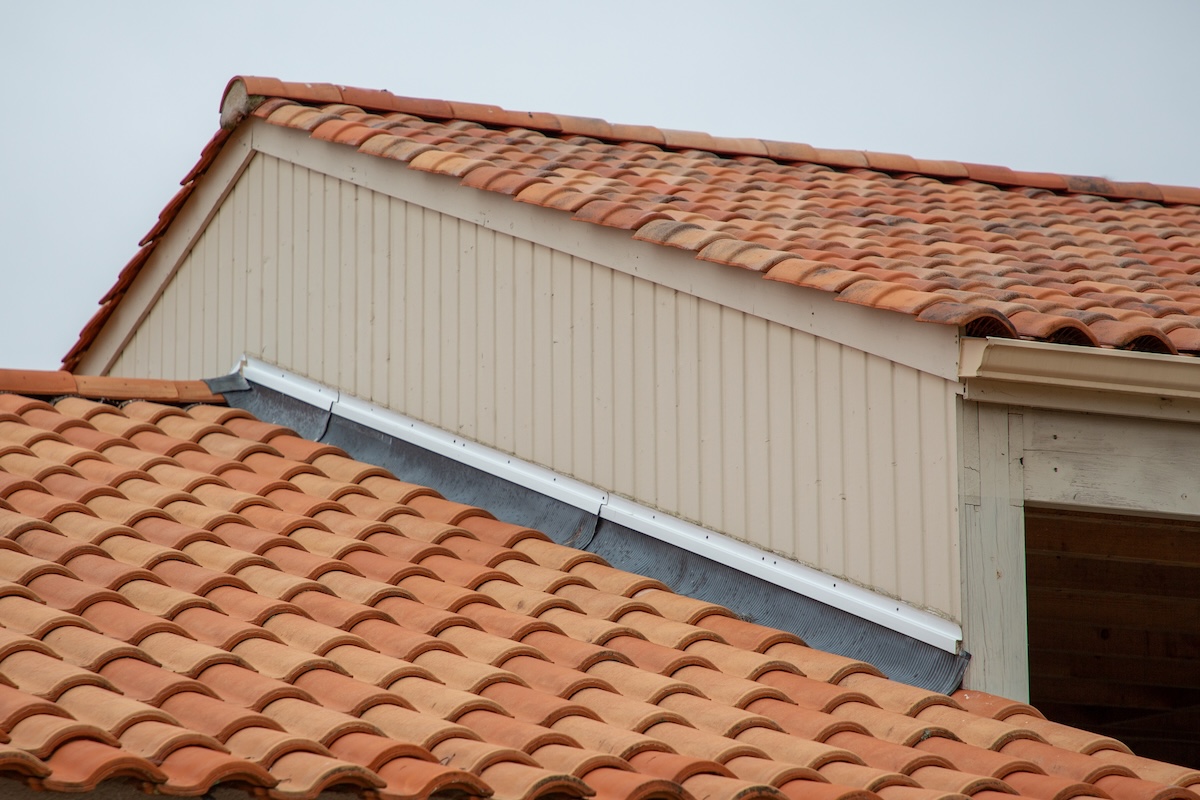
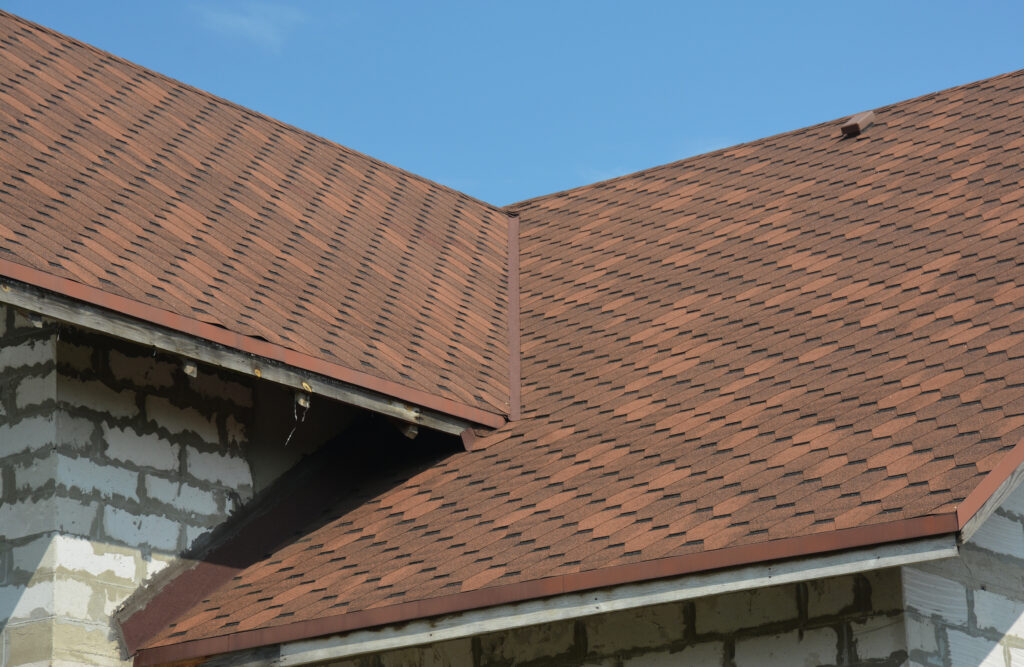
- Valley Flashing: Sits in roof valleys where two slopes meet, channeling runoff toward gutters.
- Drip Edge Flashing: Found along eaves and rakes, it prevents water from seeping beneath shingles.
- Vent Pipe Flashing: Surrounds plumbing vents to create a watertight seal.
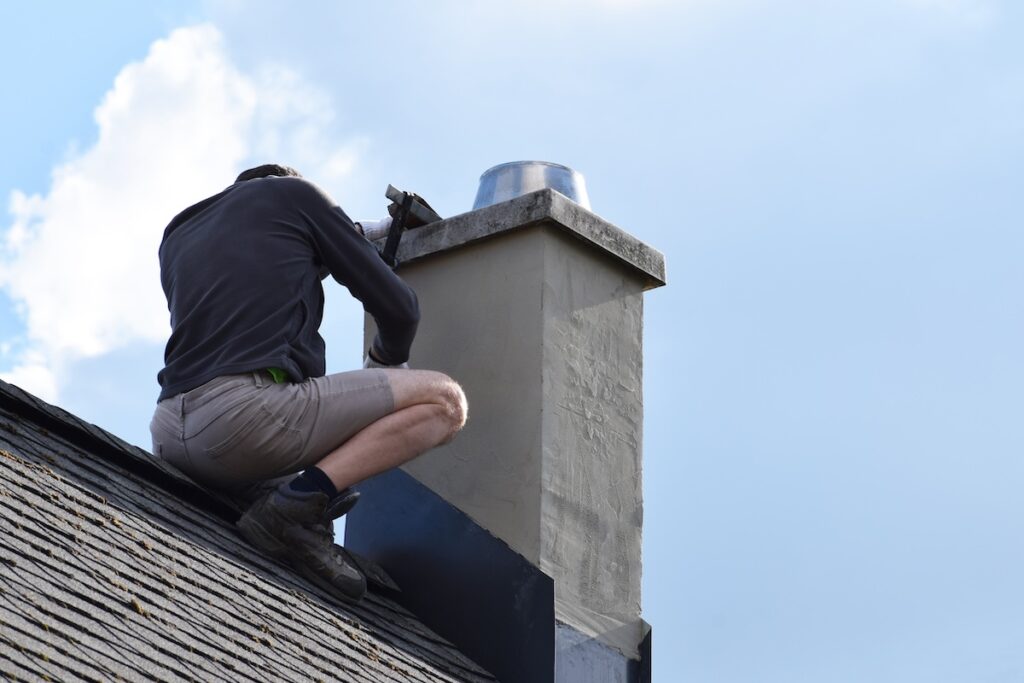
- Chimney Flashing: Includes step, counter, and base flashing around the chimney base and walls.
- Skylight Flashing: Custom-fitted pieces that protect skylight perimeters from leaks.
Knowing these types helps homeowners pinpoint problem areas during inspections and communicate effectively with roofing professionals.
How to Identify Flashing Damage
Flashing problems often start small but escalate quickly. Recognizing early warning signs saves time and money.
- Rust or corrosion visible on metal surfaces
- Loose nails or lifted edges around chimneys or vents
- Water stains or damp spots in the attic near roof penetrations
- Moldy odors or visible rot on fascia boards
- Missing caulking or cracked sealant
If you see any of these issues—especially after a heavy rainstorm—it’s time to inspect the area more closely or schedule a professional evaluation.
6 Roof Flashing Repair Methods (Step-by-Step Guide)
Depending on the severity of damage, roof flashing repair can range from a quick reseal to a full replacement. Below is a general breakdown of the repair process, including DIY-friendly approaches and professional techniques.
1. Inspect and Diagnose the Problem
Before any repair, identify exactly where the water is entering. Water doesn’t always drip straight down—it can travel along beams or rafters before becoming visible indoors.
- Examine flashing around chimneys, vents, and skylights.
- Check under shingles near the damaged area.
- Look for gaps between flashing and roofing materials.
Professional roofers in Garner and surrounding areas often use moisture meters or infrared scanners to locate hidden leaks accurately.
2. Clean the Area Thoroughly
Flashing repair requires a clean surface for proper sealing. Dirt, rust, or old caulk can prevent new materials from adhering.
- Use a wire brush to remove corrosion.
- Wipe the area clean with a damp cloth.
- Let it dry completely before applying sealant or patching.
Cleaning ensures a smooth, long-lasting repair and helps sealants bond more effectively.
3. Reseal Minor Cracks and Gaps
For small leaks or loose edges, resealing may be enough.
- Apply roofing cement or silicone-based sealant around the damaged section.
- Use a putty knife to smooth it evenly.
- Ensure all edges are fully covered to prevent water infiltration.
This method works best for flashing that’s still structurally sound but has minor gaps.
4. Patch or Replace Small Sections of Flashing
If corrosion or cracks are visible, you may need to replace a section of flashing.
- Carefully lift shingles around the affected area.
- Cut a new piece of metal flashing to fit precisely.
- Slide it under the existing shingles and secure with roofing nails.
- Seal all nail heads and seams with roofing cement.
Common materials for replacement include aluminum, galvanized steel, or copper—depending on your existing roof.
5. Replace Entire Flashing Assemblies
Severely damaged or missing flashing (especially around chimneys or vents) should be replaced completely.
- Remove old flashing, nails, and caulk.
- Inspect underlying wood for rot or water damage.
- Install new flashing pieces, ensuring overlap with surrounding shingles.
- Secure with nails and seal joints with roofing cement.
Professional roofers may also integrate ice and water shield membranes beneath the new flashing for added leak protection.
6. Test the Repair
Once repairs are complete, always test the area to confirm success.
- Use a garden hose to simulate rainwater flow.
- Have someone check the attic for leaks while you spray.
- Reapply sealant if any moisture appears.
This step ensures your work—or the professional repair—has restored a watertight seal.
Cost of Roof Flashing Repair
The total cost depends on the extent of damage, the type of flashing, and whether professional labor is needed. Here’s a general breakdown for 2026 estimates in Garner and surrounding areas.
| Type of Repair | Average Cost (Materials + Labor) | Description |
| Minor Sealant Repair | $150–$300 | Small cracks or loose flashing edges |
| Partial Replacement | $300–$600 | Replacing small sections around vents or skylights |
| Full Chimney Flashing Replacement | $700–$1,200 | Complete reinstallation of step, counter, and base flashing |
| Full Roof Edge or Valley Replacement | $1,000–$1,800 | Extensive flashing repair across multiple roof planes |
While DIY fixes can reduce costs initially, improper repairs often lead to repeat issues that end up costing more over time. Hiring professionals ensures long-term protection and warranty coverage.
DIY Tips for Homeowners
Some flashing maintenance can be handled safely by homeowners, but caution is key. Here are a few DIY-friendly tips for keeping your flashing in good shape.
- Perform Regular Inspections: Check flashing twice a year—especially after storms or heavy winds.
- Reapply Sealant Annually: Use a high-quality roofing sealant rated for UV and temperature resistance.
- Keep Roof Clean: Remove leaves and debris that can trap moisture around flashing.
- Trim Overhanging Branches: Prevent falling limbs from denting or loosening metal components.
- Avoid Walking on Flashing: Excess pressure can bend or crack seams, causing leaks.
If repairs require removing shingles, cutting metal, or resealing large areas, it’s best to call a professional roofer.
Preventing Future Flashing Problems
Routine maintenance and a few smart upgrades can significantly extend the life of your flashing and prevent leaks from returning.
- Schedule Annual Professional Inspections: Roofing experts can identify small cracks before they become serious.
- Upgrade to Rust-Resistant Materials: Copper and stainless steel offer superior durability in humid climates.
- Install Proper Ventilation: Balanced attic airflow reduces condensation that can corrode flashing.
- Replace Aged Caulking: Reapply sealant every few years to maintain flexibility and adhesion.
- Check Fasteners: Tighten or replace any loose nails or screws during regular inspections.
Proactive care is far more affordable than emergency leak repair—and helps preserve the integrity of your entire roofing system.
Protect Your Home with Barkley Jensen Roofing
Flashing might not be the most visible part of your roof, but it’s one of the most important. Proper installation and timely repair can mean the difference between a small maintenance task and a major water damage restoration project.
At Barkley Jensen Roofing, we help homeowners in Garner and surrounding areas identify, repair, and prevent flashing issues using durable materials and proven installation techniques. Our team combines craftsmanship with transparency, ensuring you understand every step of the process—from inspection to final seal.
If you’ve noticed signs of leaks or want professional help with flashing maintenance, contact us today to schedule your inspection. Protect your roof now, and it will protect your home for years to come.