How to Install Gutters (7 Easy Step Guide for Homeowners)
01.08.2026
7 Min Read
Gutters are one of those home features you don’t notice—until they stop working. Poor drainage can lead to foundation cracks, mold growth, and costly roof damage. Learning how to install gutters properly helps you protect your home from the ground up. While it might seem like a simple task, gutter installation requires planning, the right tools, and attention to slope and placement. Homeowners in Durham and surrounding areas especially benefit from reliable gutter systems due to frequent rain and moisture concerns.
Here’s what you’ll learn in this guide:
- Why installing gutters correctly matters more than you might think
- The tools and materials needed for a standard installation
- A clear 7-step process you can follow safely
- Tips for long-term gutter maintenance and upgrades
Why Proper Gutter Installation Matters
It might not be the most exciting project, but getting your gutters right can save you thousands in water damage. Gutters control the flow of rainwater off your roof and away from your home’s foundation, reducing the risk of long-term issues.
- Foundation Protection: Gutters keep water from pooling near your home’s base, which can weaken concrete or cause settling.
- Roof Preservation: By channeling water away from fascia boards and shingles, gutters reduce the risk of rot and ice dams.
- Soil & Landscaping Stability: Without gutters, erosion and water runoff can damage gardens, mulch beds, and hardscapes.
- Mold & Mildew Prevention: Standing water near siding and eaves promotes organic growth and poor indoor air quality.
- Basement Moisture Control: Redirecting water helps prevent seepage and reduces the load on your sump pump.
7 Step Guide to Install Gutters
With basic tools, a sturdy ladder, and a little patience, most homeowners can handle a straightforward gutter installation. Just be sure to work safely and measure carefully.
1. Plan Your Layout and Measure
Before you buy anything, assess where your gutters will go. Most homes need gutters on the eaves that collect the most water—usually front and back.
- Measure the length of each section to the nearest inch
- Identify where downspouts should go (ideally near corners)
- Plan a slope of 1/4 inch for every 10 feet toward the downspout
Use chalk to mark gutter lines, keeping the high point at the far end and sloping gently toward the outlet. Accurate slope ensures rainwater flows properly and avoids pooling.
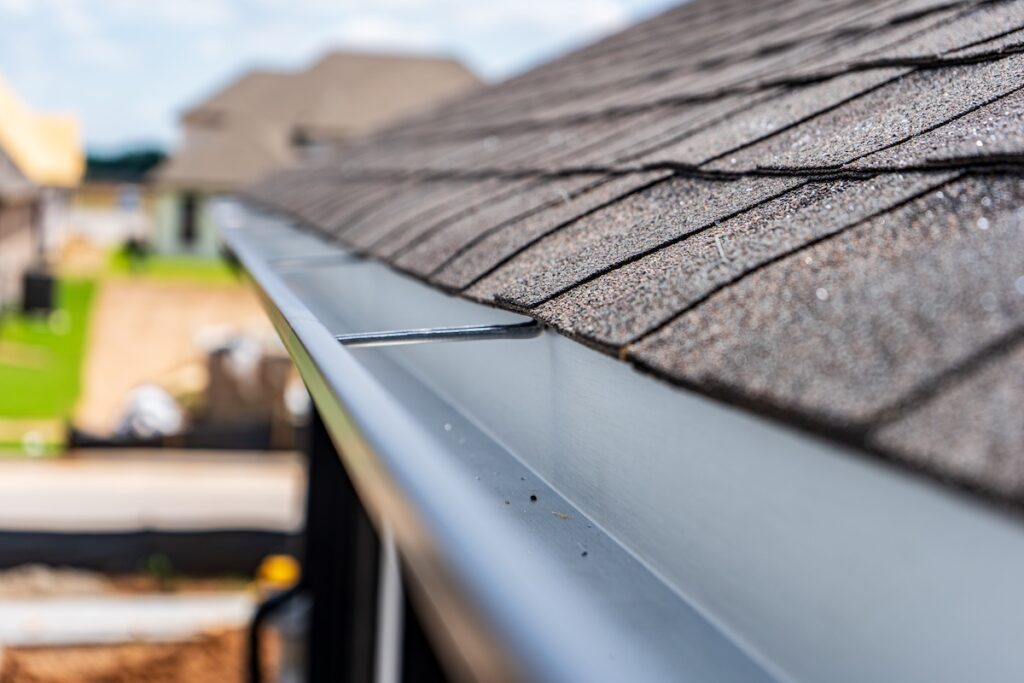
2. Choose the Right Materials
Gutters come in various shapes and materials. K-style and half-round are common profiles. Aluminum is lightweight and rust-resistant, while steel is stronger but heavier.
- Aluminum: Affordable, rust-resistant, easy to cut
- Vinyl: Budget-friendly but can crack in extreme temps
- Steel: Strong, durable, but requires sealing against rust
- Copper: High-end, long-lasting, develops patina
Consider aesthetics, budget, and your local climate when selecting materials. For example, aluminum is well-suited for humid climates like Durham and surrounding areas.
3. Install Gutter Hangers or Brackets
Gutter hangers support the gutter from beneath or within. Space them every 2 feet for strength and consistency.
- Screw hangers into fascia boards using a drill
- Ensure brackets follow the slope line you marked earlier
- Use longer screws if installing into older or thicker wood
For homes with snow load or older wood fascia, reinforce brackets with additional anchors.
4. Cut and Assemble the Gutter Sections
Measure and cut gutter lengths using tin snips or a specialized saw blade. Always wear gloves and safety glasses to avoid injury.
- Connect sections using seamers or connectors
- Seal joints with silicone or rubber gutter sealant
- Add end caps to close off open gutter ends
If your total run is more than 40 feet, plan a center downspout or slope each direction away from the middle. Always dry-fit first before sealing.
5. Attach the Gutters to the Hangers
With help or using support blocks, lift the gutter into place and clip or screw it into the hangers.
- Work in sections to make alignment easier
- Ensure the front edge is slightly lower than the back to catch overflow
- Don’t overtighten—gutters need to expand slightly with heat
Use a level to confirm proper slope from end to end before final tightening.
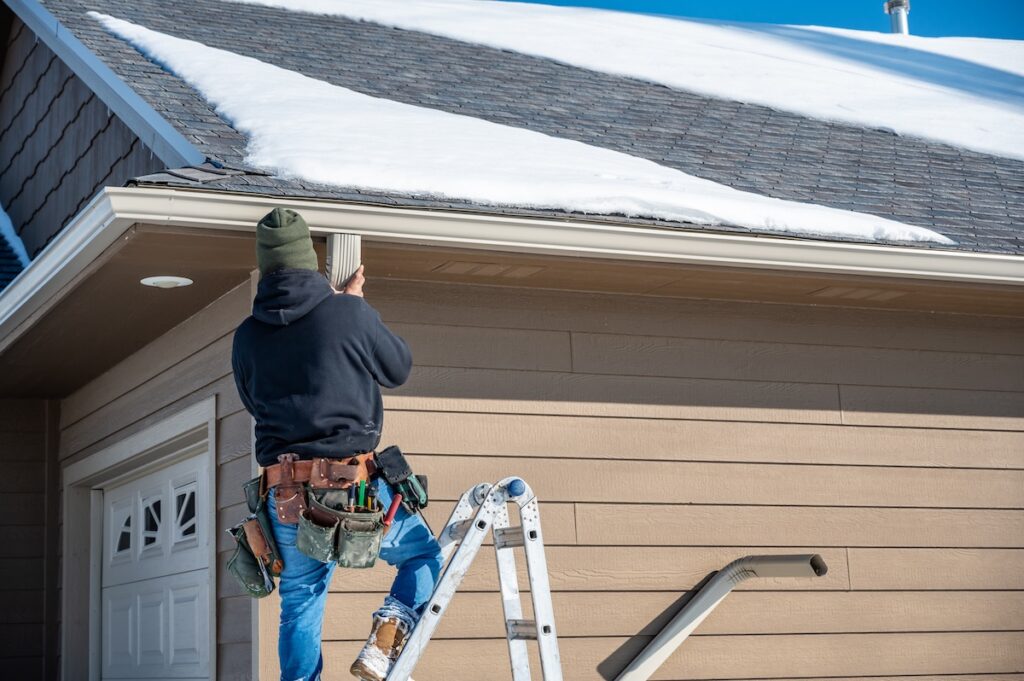
6. Install Downspouts
Attach elbows to the outlet fittings and run downspouts vertically to the ground or a drainage system.
- Use wall brackets to secure every 8–10 feet vertically
- Extend discharge elbows 2–3 feet from the foundation or connect to a drainage pipe
- Splash blocks help reduce erosion at the base
For more advanced systems, connect downspouts to underground drains or rain barrels.
7. Test and Seal Everything
Once installed, use a garden hose to simulate rainfall and check for leaks or sagging.
- Reseal any joints or seams that drip
- Tighten any loose brackets or straps
- Adjust pitch if water pools in the middle
Repeat testing after 24 hours to ensure no slow leaks develop at seams or corners.
Tools and Safety Gear You’ll Need
Gutter installation is hands-on but doesn’t require specialized training. Still, using the right tools and practicing ladder safety are essential.
Essential Tools
- Cordless drill and bits
- Hacksaw or tin snips
- Level or chalk line
- Tape measure and pencil
- Silicone sealant and caulk gun
- Gutter screws and brackets
Safety Equipment
- Extension ladder with stabilizer arms
- Gloves to handle sharp edges
- Eye protection for cutting and drilling
- Roof harness (if installing on multi-story homes)
Never work alone when using ladders or accessing the roof. Have a spotter assist when possible, and never overreach from the ladder.
Common Gutter Mistakes to Avoid
Even small installation errors can lead to major water issues down the line. Here’s what to watch out for.
Ignoring Proper Slope
Flat gutters don’t drain well. Water will sit, collect debris, and eventually sag the system.
- Always maintain 1/4 inch slope per 10 feet of run
- Recheck slope after each section
- Test with water after final installation
Too Few Downspouts
Too much water and not enough outlets means overflow every time it rains hard.
- Use 1 downspout per 30–40 linear feet of gutter
- Consider additional outlets on longer runs
- Make sure water exits far enough from the home
Poor Hanger Spacing
Loose or sagging gutters are often caused by hanger brackets spaced too far apart.
- Place every 2 feet (or 18 inches in snow zones)
- Double up near corners and downspout outlets
- Reinforce with fascia screws as needed
Weak Fastening to Fascia
If screws pull out or fascia wood is rotted, the system may collapse during storms.
- Check fascia health before installation
- Use stainless or coated fasteners for weather resistance
- Replace damaged wood before installing hangers
Overlapping Sections Incorrectly
Gutter seams should always overlap with the higher section behind the lower section so water flows forward—not behind.
- Seal each overlap completely
- Reinforce joints with brackets or clamps for added durability
Maintenance Tips After Installation
Gutter installation is only part of the equation. Keeping them working properly means staying on top of cleaning and seasonal inspection.
- Clean twice per year: Spring and fall are ideal
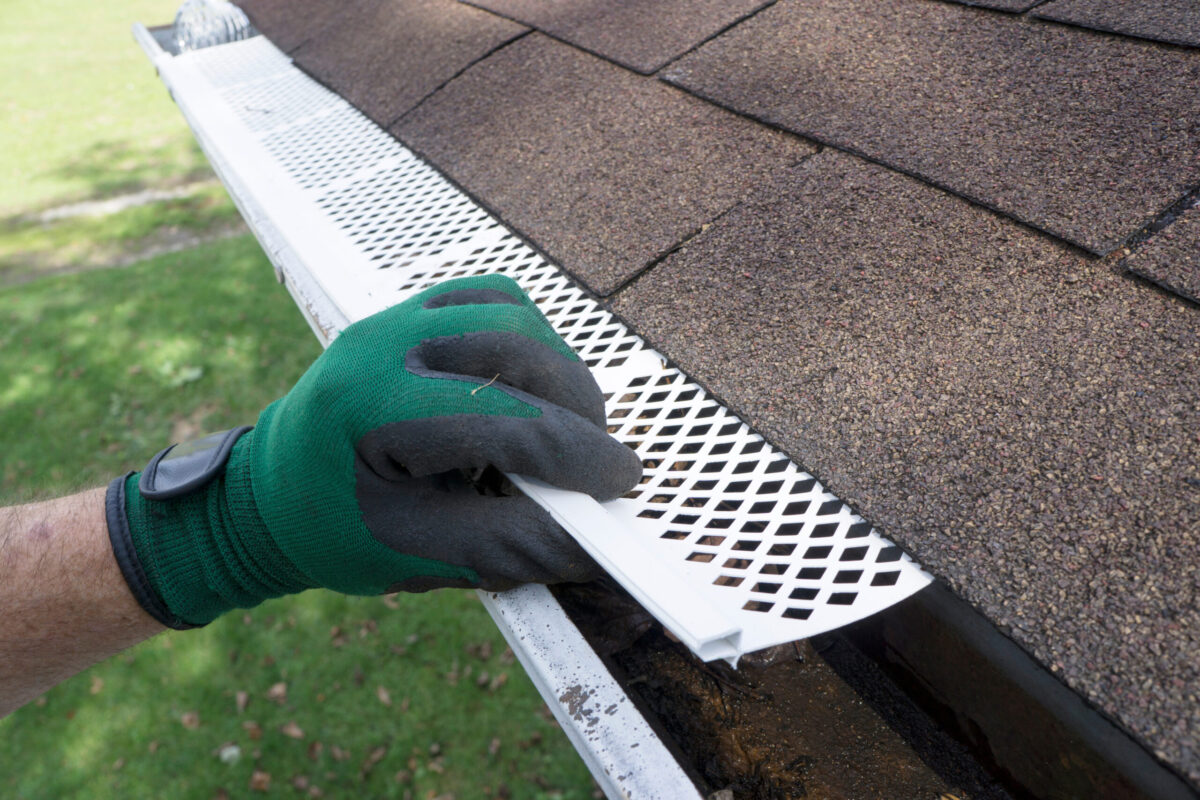
- Install gutter guards: Reduce clogs from leaves and debris
- Check during heavy rain: Spot overflow or leaks in action
- Trim trees nearby: Prevent buildup and scratching
- Secure loose fasteners: Especially after wind storms
Pro tip: After a storm, check downspout outlets for blockages and confirm the slope is still intact.
Should You DIY or Hire a Pro?

While gutter installation is doable for the average homeowner, it’s not always the best choice for every situation. Consider these factors:
When DIY Works Well
- You have a single-story home with clear access
- The project involves straight runs with simple slopes
- You’re comfortable on ladders and have basic tools
When Hiring a Pro Makes More Sense
- Your home has multiple levels or steep rooflines
- You want custom seamless gutters installed onsite
- You’re combining gutters with roof or fascia repairs
Professionals can also recommend the best placement, size, and style of gutter for your home—especially in areas like Durham and surrounding areas where seasonal rainfall patterns impact drainage needs.
Want Gutter Help You Can Rely On?
Installing gutters isn’t just a weekend task—it’s a long-term investment in your home’s protection. If you’re not sure how to size, slope, or seal your system properly, or if your home in Durham and surrounding areas needs professional drainage planning, contact us today to schedule an estimate with Barkley-Jensen Roofing.