Storm Damage Roof Inspection: A Simple Checklist for Homeowners
03.24.2026
6 Min Read
After a major storm passes, your roof may look fine from the ground, but hidden damage can lead to serious problems if left unchecked. A storm damage roof inspection helps identify issues early before they turn into costly repairs. Taking the right steps after severe weather can protect your home and give you peace of mind. Many homeowners start by reviewing their options and working with trusted storm damage specialists to ensure nothing is overlooked.
In this guide, you will learn:
- What to look for after a storm hits your home
- A step-by-step checklist for inspecting your roof safely
- Common types of storm damage and how they appear
- When to handle things yourself and when to call a professional
- How inspections help prevent long-term structural issues
Why Storm Damage Inspections Are Critical for Protecting Your Home
Storms can cause immediate and hidden damage to your roof. High winds, heavy rain, hail, and debris all put stress on your roofing system, often in ways that are not visible right away. That is why inspections are so important.
Homeowners in Garner and surrounding areas frequently deal with unpredictable weather, making post-storm inspections an essential part of home maintenance.
Here is why these inspections matter:
- Early Damage Detection: Identifies small issues like loose shingles before they become leaks.
- Leak Prevention: Stops water intrusion that can lead to interior damage and mold growth.
- Insurance Documentation: Provides evidence if you need to file a claim.
- Structural Protection: Helps prevent long-term weakening of roofing materials.
- Cost Control: Addressing minor issues early is far less expensive than major repairs later.
Taking action quickly after a storm can save both time and money.
8 Steps: A Homeowner’s Checklist for Storm Damage Roof Inspection
Knowing what to look for makes inspections more effective and less overwhelming. This checklist breaks the process down into manageable steps that homeowners can follow safely.
1. Start With a Ground-Level Inspection
Begin by walking around your home and observing the roof from a safe distance. You can often spot major issues without climbing up.
Look for:
- Missing or displaced shingles
- Pieces of roofing material on the ground
- Bent or damaged gutters
- Debris accumulation on the roof
This first step helps identify obvious signs of damage.
2. Check for Signs of Wind Damage
Strong winds can loosen or completely remove shingles, leaving your roof vulnerable.
Common indicators include:
- Curling or lifted shingles
- Exposed underlayment
- Uneven roof lines
Wind damage may not always be dramatic, so look closely.
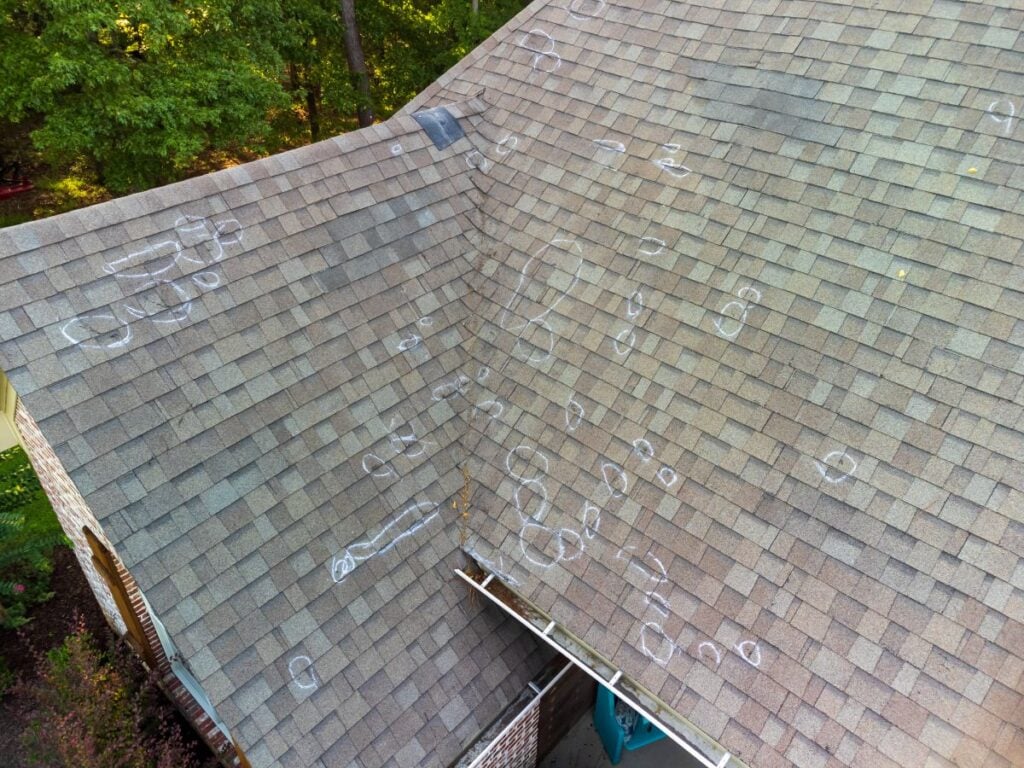
3. Inspect for Hail Impact
Hail can leave subtle but damaging marks on your roof surface.
Signs of hail damage:
- Small dents or pockmarks on shingles
- Granule loss that exposes darker areas
- Damage to vents, flashing, or gutters
Even small hail impacts can shorten the life of your roof.
4. Examine Gutters and Downspouts
Your gutter system often shows signs of storm damage even when the roof does not.
Check for:
- Dents or cracks
- Loose or detached sections
- Granules collecting in gutters
These signs can indicate underlying roof issues.
5. Look Inside Your Home for Warning Signs
Roof damage often reveals itself inside before it becomes visible outside.
Inspect ceilings and attic spaces for:
- Water stains or discoloration
- Damp insulation
- Musty odors
Interior signs should never be ignored.
6. Check Flashing and Roof Penetrations
Areas around chimneys, vents, and skylights are especially vulnerable during storms.
Look for:
- Loose or damaged flashing
- Gaps around penetrations
- Signs of water intrusion
These areas are common entry points for leaks.
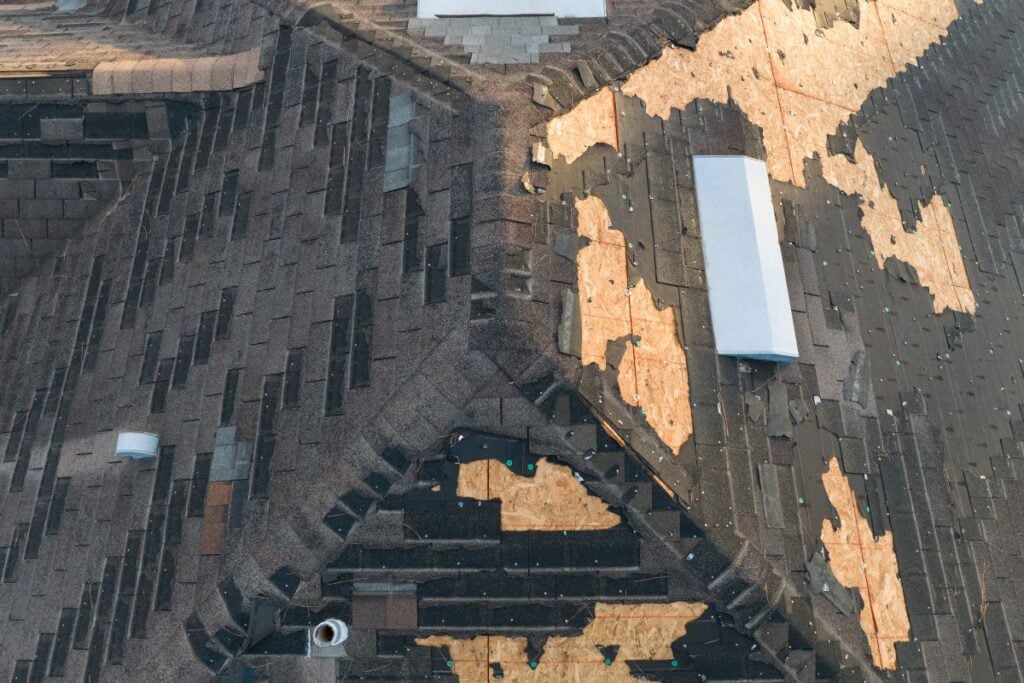
7. Assess Debris Impact Damage
Falling branches or debris can cause immediate and visible damage.
Watch for:
- Cracked or punctured shingles
- Dented roof surfaces
- Broken flashing or vents
Even minor impacts can compromise your roof’s integrity.
8. Document Everything You Find
If you notice any damage, document it with photos and notes.
This helps:
- Provide evidence for insurance claims
- Track changes over time
- Communicate clearly with professionals
Good documentation makes the next steps easier.
Common Types of Storm Damage and How They Affect Your Roof
Not all storm damage looks the same. Understanding the different types helps you recognize issues quickly and respond appropriately.
Wind Damage
Wind can lift shingles, break seals, and expose the underlying structure of your roof.
Effects include:
- Increased risk of leaks
- Reduced shingle lifespan
- Vulnerability to further storms
Even moderate winds can cause damage over time.
Hail Damage
Hail impacts can weaken shingles and reduce their protective capabilities.
Typical outcomes:
- Loss of protective granules
- Surface cracks
- Accelerated aging
Hail damage is often subtle but serious.
Water Damage
Heavy rain can exploit even the smallest weaknesses in your roof.
Signs include:
- Leaks and water stains
- Mold growth
- Rotting wood structures
Water damage tends to worsen quickly if not addressed.
Debris Damage
Storm debris can cause sudden and severe damage.
Examples:
- Broken shingles
- Punctures in roofing materials
- Damaged flashing
Immediate attention is necessary to prevent further issues.
DIY Inspection vs Professional Evaluation
While homeowners can perform basic inspections, there are limits to what can be safely and accurately assessed without professional help.
When DIY Inspection Is Appropriate
A visual inspection from the ground or attic can help identify obvious issues.
DIY inspections are useful for:
- Spotting visible damage
- Monitoring changes after storms
- Deciding whether to call a professional
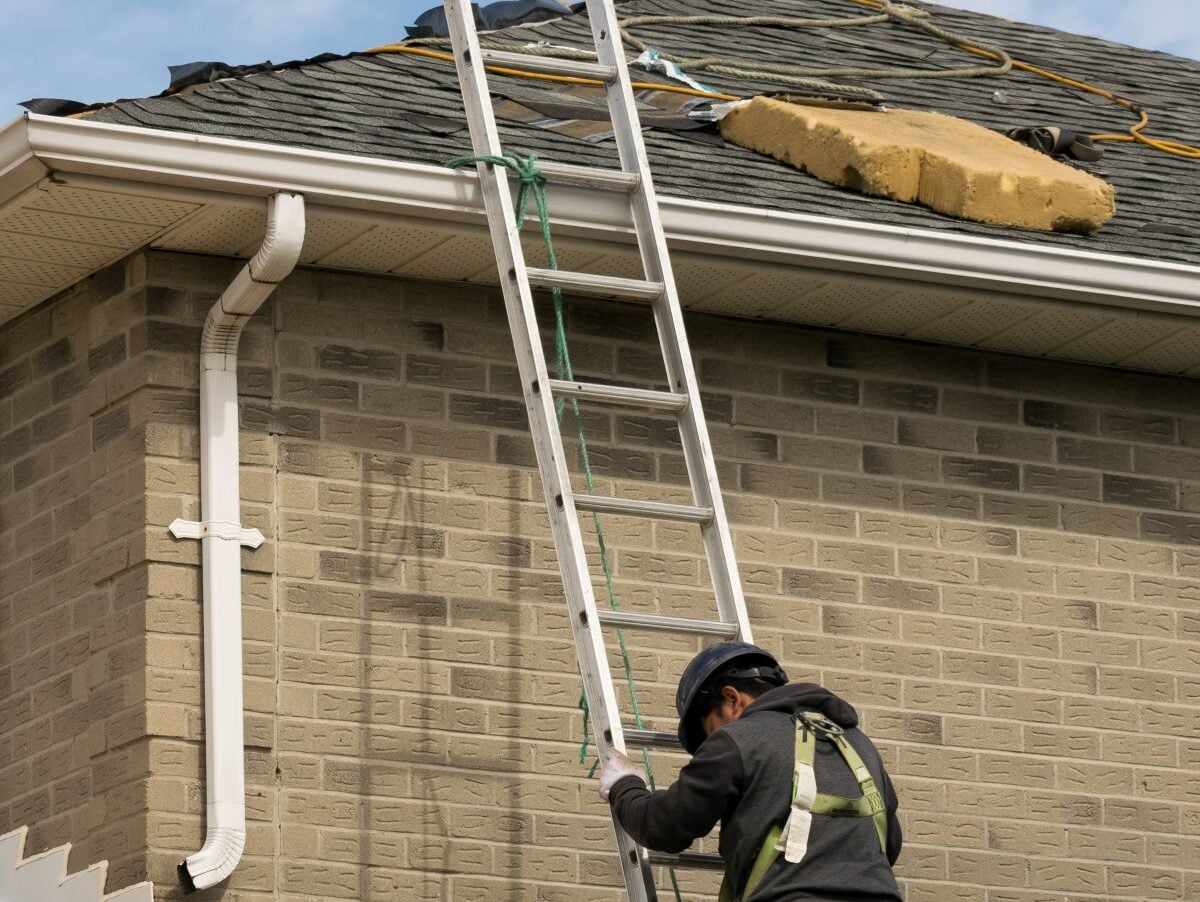
Always prioritize safety and avoid climbing onto the roof without proper equipment.
When to Call a Professional
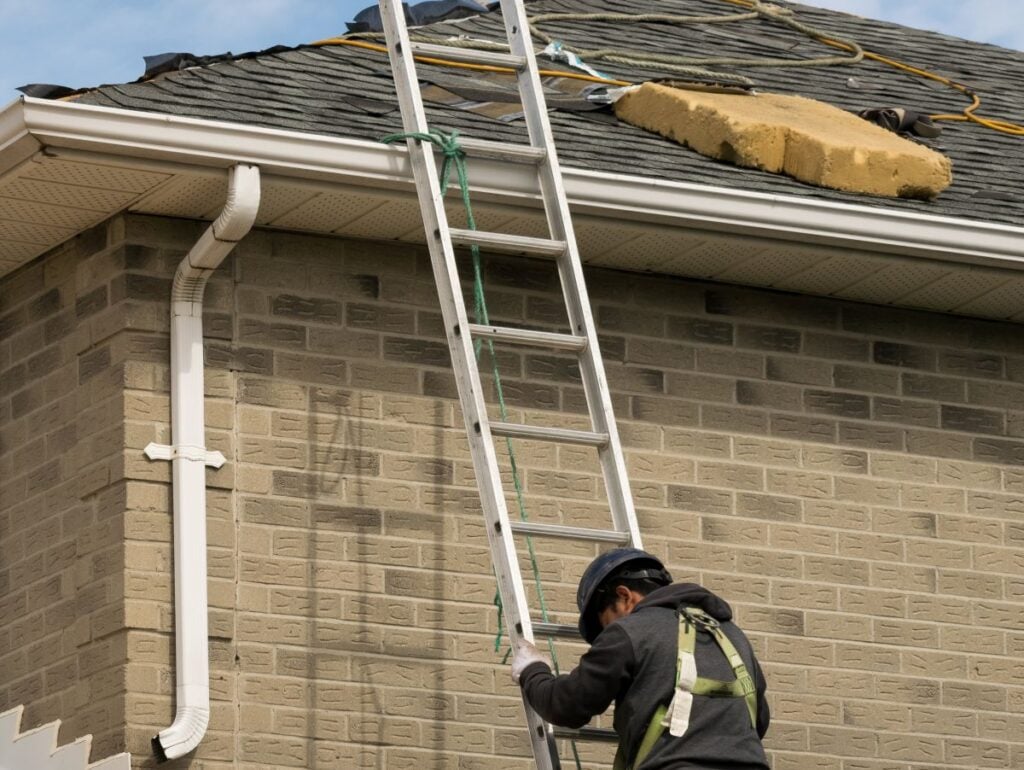
Certain situations require expert evaluation.
Call a professional if:
- You suspect hidden damage
- The roof is steep or difficult to access
- There are signs of leaks or structural issues
- You need documentation for insurance
Professional inspections provide a more thorough assessment.
Comparing DIY and Professional Inspections
| Factor | DIY Inspection | Professional Inspection |
| Safety | Limited | High |
| Accuracy | Basic | Comprehensive |
| Equipment | Minimal | Advanced tools |
| Damage Detection | Surface-level | In-depth |
| Insurance Support | Limited | Detailed documentation |
A professional inspection often uncovers issues that homeowners might miss.
Building a Long-Term Inspection Plan
Routine inspections should not only happen after storms. Establishing a regular schedule helps maintain your roof’s condition year-round.
Best practices:
- Inspect after major storms
- Schedule annual professional evaluations
- Address issues promptly
For homeowners in Garner and surrounding areas, this proactive approach is especially valuable due to changing weather patterns.
Protect Your Home With a Reliable Storm Damage Inspection Plan
A storm damage roof inspection is one of the most important steps you can take to protect your home after severe weather. By following a simple checklist and understanding what to look for, you can catch problems early and avoid costly repairs.
If you want peace of mind after a storm or need expert guidance, contact us today to schedule a professional inspection. Barkley-Jensen Roofing proudly serves homeowners in Garner and surrounding areas with reliable solutions designed to keep your home safe and secure.