Fascia Board Replacement: 7 Step Guide for Homeowners
09.04.2025
8 Min Read
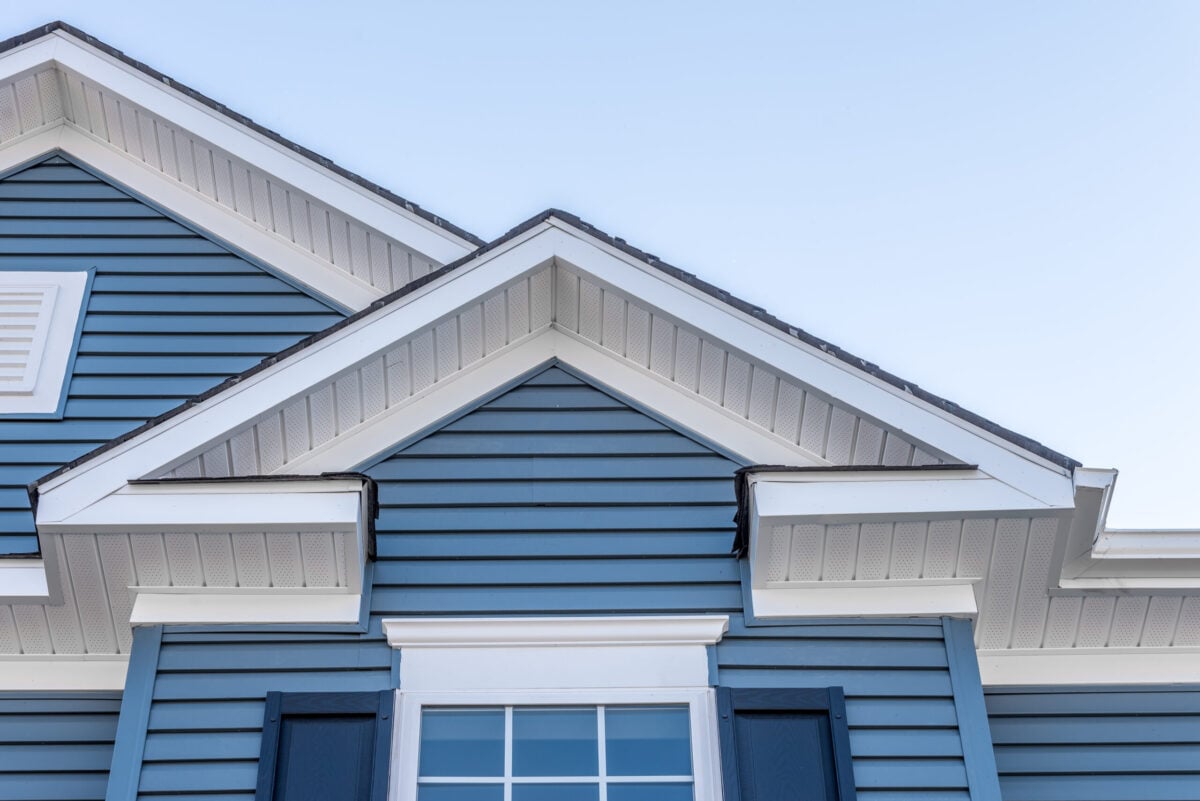
Your home’s fascia boards serve as the protective barrier between your roof and the elements, but when they start showing signs of wear, replacement becomes essential for maintaining your property’s structural integrity. This comprehensive guide will walk you through everything you need to know about fascia board replacement, from identifying damage to completing the installation process.
- Understanding fascia board replacement and its importance
- Signs you need a fascia board replacement
- Fascia board replacement vs repair: How to Know Which You Really Need
- Tools and materials required
- Step-by-step fascia board replacement process
- Professional installation vs. DIY considerations
- Maintenance tips to extend fascia board life
⚠️ Signs Your Fascia Boards Need Replacement
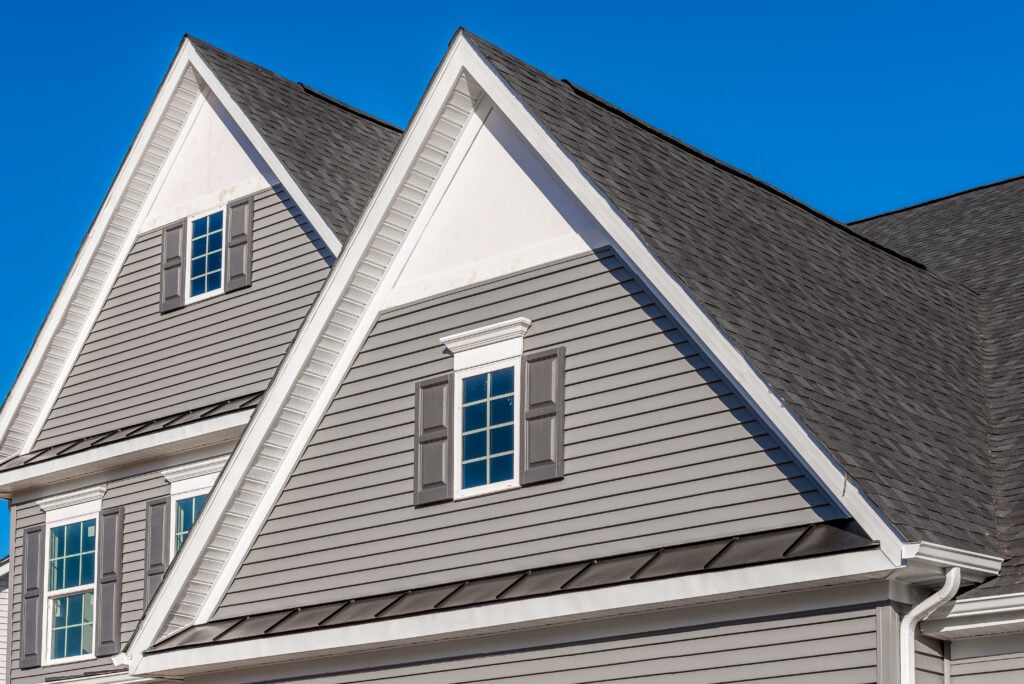
Recognizing when your fascia boards need replacement can save you from extensive water damage and structural problems. Several warning signs indicate it’s time for fascia board replacement. If you notice sagging or pulling away, it may be time to call roofing contractors in Cary for an expert inspection.
Visible Rot and Decay: Wood fascia boards are particularly susceptible to rot, especially in areas with high moisture exposure. Look for soft, spongy areas, dark discoloration, or sections where you can easily push your finger through the board.
Pest Damage: Carpenter ants, termites, and other insects often target damaged fascia boards. You might notice small holes, sawdust-like debris, or actual insect activity around your roofline.
Sagging or Pulling Away: If your fascia boards are pulling away from the roof structure or appear to sag, this indicates serious structural compromise that requires immediate attention.
Paint Issues: Persistent paint problems, including peeling, blistering, or areas where paint won’t adhere properly, often signal underlying moisture damage that may necessitate board replacement.
Gutter Problems: Gutters that frequently come loose, sag excessively, or don’t drain properly may indicate fascia board issues, as damaged boards can’t provide adequate support.
Fascia Board Replacement vs Repair: How to Know Which You Really Need

Not all fascia problems require a full replacement. In many cases, homeowners can save time and money by repairing only the damaged portion—but only if the underlying structure is still sound. Here’s a simple way to determine what’s appropriate for your home:
When Fascia Repair Is Enough
You can usually repair the fascia if the damage is:
- Localized, such as a small soft spot, minor rot, or a single cracked board.
- Cosmetic, like peeling paint, discoloration, or slight warping.
- Caused by a one-time issue, such as a clogged gutter or a small roof leak that has already been fixed.
- Limited to the surface, meaning the wood is still firm when probed with a screwdriver.
Good repair examples:
Filling small holes, treating early-stage rot, replacing a short 4–6 ft section, repainting, or sealing.
When Full Fascia Board Replacement Is Necessary
Replacement is the right choice when:
- Rot has penetrated deeply and the board feels soft or crumbles under light pressure.
- You see extensive water damage across multiple sections of the roofline.
- The fascia is bowing, sagging, or pulling away from the rafters.
- Insects or pests have damaged the wood beyond surface-level treatment.
- There is repeated moisture exposure due to faulty flashing, improper gutter slope, or missing drip edge.
- Soffits or rafter tails show signs of decay, meaning structural components are affected—not just the fascia.
In these cases, spot-repair won’t solve the problem. Replacing the fascia ensures the damage doesn’t spread and restores the roofline’s structural integrity.
Pro Tip: Fix the Root Cause
Before repairing or replacing, always inspect:
- Gutters and downspouts
- Roof flashing and drip edge
- Ventilation around the soffit
- Any signs of roof leaks
If these issues aren’t corrected, even new fascia boards will eventually fail again.
🛠️ Tools and Materials Required
Successful fascia board replacement requires the right tools and materials. Having everything ready before you start will make the project go much smoother. The right tools are important, but many homeowners prefer leaving the job to professional roofing services in Raleigh for guaranteed results.
Essential Tools:
- Circular saw or miter saw
- Hammer and nail set
- Screwdriver or drill
- Level
- Measuring tape
- Safety glasses and gloves
- Ladder or scaffolding
- Pry bar
- Chalk line
Materials Needed:
- Replacement fascia boards (sized to match existing)
- Galvanized nails or screws
- Wood filler (for wood boards)
- Primer and exterior paint
- Caulk for sealing gaps
- Flashing if needed
✅ 7 Step Fascia Board Replacement Process
Replacing fascia boards is essential to protect your home’s roofline and prevent water damage. A proper replacement process ensures long-term durability and enhances overall curb appeal.
1. Safety Preparation and Assessment
Begin by ensuring your work area is safe and accessible. Set up sturdy ladders or scaffolding, and have someone spot you when working at height. Remove any gutter sections attached to the fascia boards you’re replacing.
2. Remove Damaged Fascia Boards
Carefully remove the old fascia boards by pulling out nails or screws and trusted roof repair in Knightdale teams can handle the job safely.. Use a pry bar to gently separate boards from the rafter tails. Take care not to damage the roof structure or surrounding materials during removal.
3. Inspect and Repair Rafter Tails
Once the old fascia is removed, inspect the rafter tails for damage. Look for signs of rot, insect damage, or structural issues. Make necessary repairs before installing new boards to ensure a solid foundation.
4. Measure and Cut New Boards
Measure each section carefully and cut your replacement boards to length. Make precise cuts to ensure proper fit and professional appearance. For corners, you’ll need to make angled cuts for proper joining.
5. Install New Fascia Boards
Position the new boards against the rafter tails and ensure they’re level and properly aligned. Secure with appropriate fasteners, spacing them every 16 inches along the board. Use a nail set to drive nail heads slightly below the surface.
6. Seal and Finish
Fill nail holes with wood filler if using wood boards. Apply caulk to seal gaps and joints. Prime and paint the boards with high-quality exterior paint to protect against weather damage.
7. Reinstall Gutters
Once the fascia board replacement is complete and any paint has dried, reinstall your gutter system. Ensure proper alignment and secure attachment to the new fascia boards.
👨🔧 Professional Installation vs. DIY Considerations
While fascia board replacement can be a DIY project for experienced homeowners, several factors should influence your decision about professional installation. If you’d rather not tackle the work yourself, check out our full fascia board replacement guide for insights before calling a contractor.
DIY Advantages: Cost savings on labor, ability to work at your own pace, and satisfaction of completing the project yourself make DIY appealing for many homeowners.
Professional Benefits: Professional contractors bring experience, proper tools, and insurance coverage. They can identify underlying problems you might miss and ensure code compliance. Professional installation often comes with warranties that protect your investment.
When to Call Professionals: Consider professional installation if you’re uncomfortable working at height, lack the necessary tools, discover extensive structural damage, or need to coordinate with other roofing work.
💡 Maintenance Tips to Extend Fascia Board Life
Proper maintenance can significantly extend the life of your fascia boards and prevent premature replacement needs.
Regular Inspections: Examine your fascia boards at least twice yearly, looking for signs of damage, loose fasteners, or paint deterioration. Early detection allows for minor repairs instead of full replacement.
Gutter Maintenance: Keep gutters clean and properly functioning to prevent water overflow that can damage fascia boards. Ensure proper drainage and fix any leaks promptly.
Paint Maintenance: Maintain a proper paint finish to protect wood fascia boards from moisture penetration is as important as choosing the best roof shingles to complement and protect your roofline.. Touch up any damaged areas immediately and repaint every few years as needed.
Trim Vegetation: Keep trees and shrubs trimmed away from your roofline to improve air circulation and reduce moisture accumulation that can lead to rot and pest problems.
Address Issues Promptly: Don’t delay repairs when you notice problems. Small issues can quickly become major problems that require extensive fascia board replacement.
Trust the Experts for Your Roofing Needs
Fascia board replacement is just one aspect of maintaining your home’s roofing system and reviewing gutter installation cost can help you plan your roofing budget effectively. While this guide provides the knowledge you need to understand the process, successful completion often requires professional expertise and experience.
Don’t let damaged fascia boards compromise your home’s protection. Contact Barkley-Jensen Roofing & Restoration today for a professional assessment and discover why homeowners throughout North Carolina trust us with their most important roofing needs.