How To Install Vinyl Siding: Complete Guide for Homeowners
04.16.2025
16 Min Read
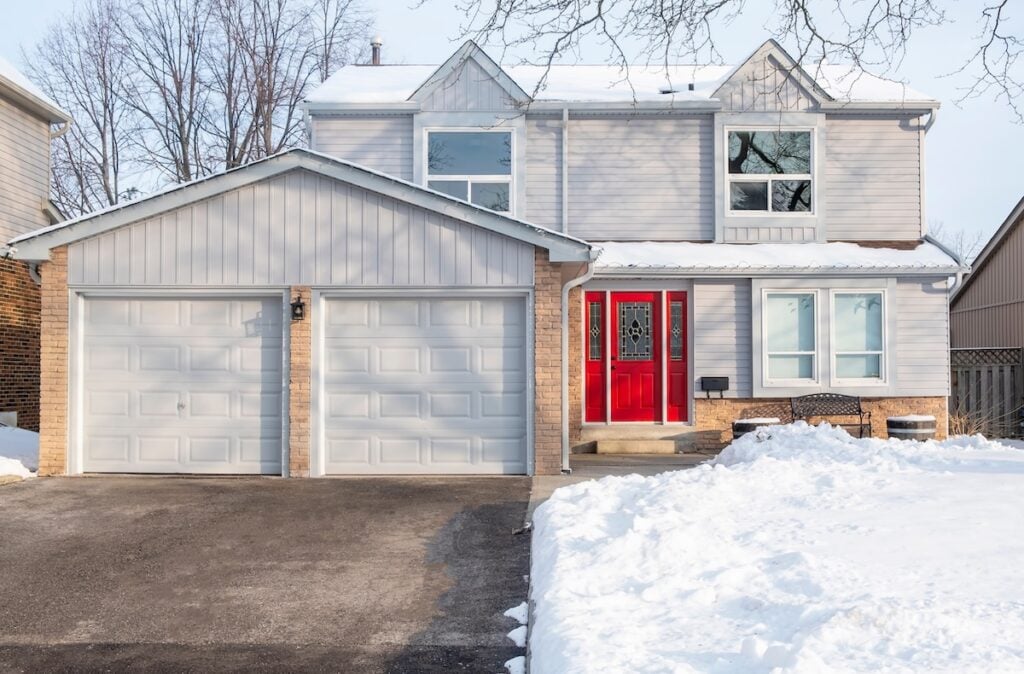
Learning how to install vinyl siding is an attractive, cost-effective option for homeowners who want to boost their home’s curb appeal and protect it from the elements. But what many don’t realize is that installing vinyl siding can be a DIY-friendly project if you’re equipped with the right tools, instructions, and a bit of patience.
In this complete guide, we will cover how to install vinyl siding effectively, ensuring a stylish and durable finish. Below, you’ll learn everything you need to know about how to install vinyl siding, including:
- The basics of preparing after learn how to install vinyl siding
- Pre-Installation Preparation & Substrate Surface Prep
- Step-by-step instructions to understand how to install vinyl siding
- Expansion/Contraction & Proper Fastening Techniques
- How to maintain vinyl siding once it’s installed
🛠️ How to Prepare for a Vinyl Siding Installation
Before you even think about attaching the first panel, proper preparation is essential to ensure your project goes smoothly and delivers long-lasting results. Skipping steps or rushing through the preparation process can lead to costly mistakes, such as uneven siding, moisture damage, or structural issues down the line.
By taking the time to inspect your home, gather the right tools, and prep your surface correctly, you’ll set yourself up for a successful and seamless vinyl siding installation. Here’s everything you need to know to get started:
- Inspect Your Home’s Exterior: Check for damage like rot, mold, or broken panels. Repair any structural issues before starting the vinyl siding installation.
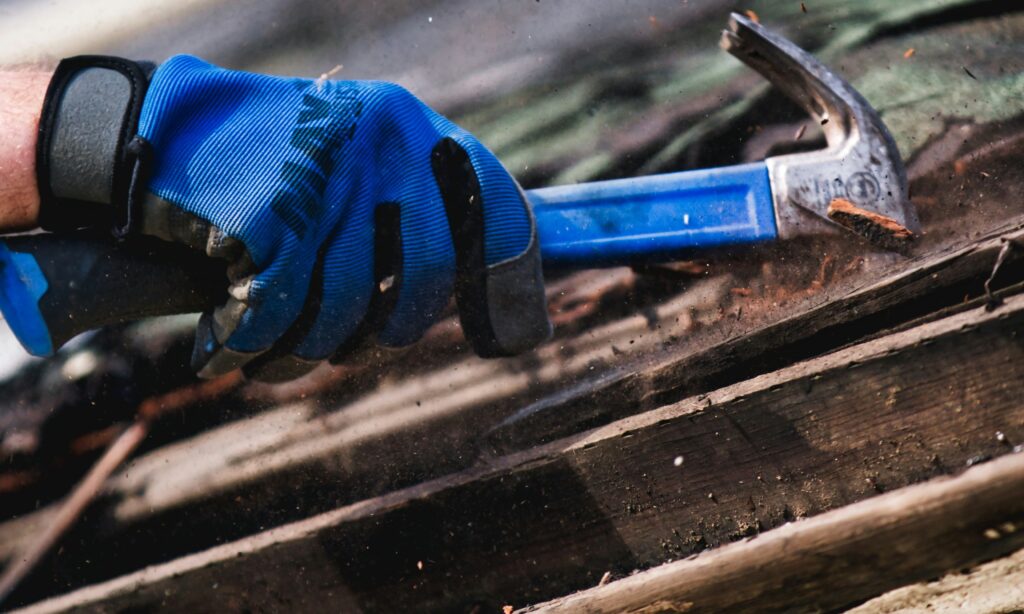
- Gather Tools and Materials: You’ll need tools like a tape measure, chalk line, hammer, utility knife, level, and more. Ensure you have enough vinyl siding, plus 10% extra for waste.
- Remove Old Siding: If siding is already installed, carefully remove it with a pry bar and siding removal tool. Dispose of the old material responsibly.
- Install a Moisture Barrier: Secure a moisture barrier, like house wrap or tar paper, to protect your home from wind and rain. Attach it tightly with staples or nails.
Before attaching the first panel, many homeowners consult local roofing services in Cary to ensure their exterior is structurally sound and ready for siding.
Pre-Installation Preparation & Substrate Surface Prep
Proper preparation is the foundation of a successful vinyl siding installation. Even high-quality siding will fail prematurely if the underlying surface isn’t flat, dry, and structurally sound. Before opening your first box of panels, complete the following steps to ensure long-term durability and a clean, professional finish.
Inspect and Repair the Existing Exterior
Start with a full inspection of your home’s exterior walls. Look for:
- Rotten or soft wood
- Warped sheathing
- Loose or damaged trim
- Signs of moisture intrusion
- Cracked, missing, or uneven areas of old siding
Any structural issue must be repaired before proceeding. Installing vinyl siding over an unstable or wet substrate will trap moisture and cause long-term damage.
Ensure the Wall Surface Is Flat
When learning how to install vinyl siding, you need to know that it requires a uniformly flat surface to prevent waviness and buckling. Use a long level or straightedge to check for unevenness across the wall.
If the surface is not flat:
- Install furring strips (1×3 or 1×4 lumber) vertically every 16 inches.
- Shim low areas or remove high spots.
- Replace severely warped or damaged sheathing.
Remove or Prep Existing Siding
Depending on your local building codes, you may be allowed to learn how to install vinyl siding over old siding, or choose the professional experience to do it.
- Ensure the old siding is flat, dry, and firmly attached.
- Remove loose or rotting sections.
- Install furring strips if the old siding has deep texture (e.g., wood shakes).
If the old siding is in poor condition, remove it entirely and repair the sheathing beneath.
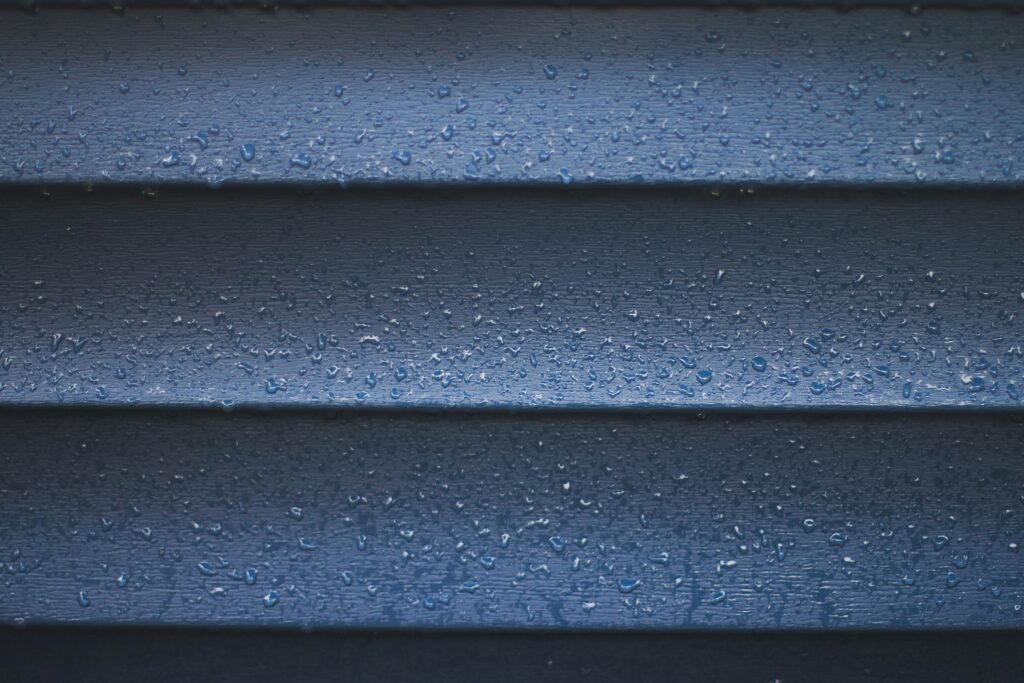
Install a Moisture Barrier or House Wrap
A continuous, high-quality moisture barrier is essential to prevent trapped moisture and improve energy efficiency. Before installing it:
- Seal seams with approved tape.
- Wrap tight around windows, doors, and wall penetrations.
- Overlap vertical seams by at least 6 inches.
Proper house wrap installation reduces drafts, protects against water intrusion, and extends the lifespan of the siding.
Add Optional Insulation Board
If you want improved energy efficiency or need to correct minor imperfections, consider adding:
- Foam insulation board (½–1 inch)
- Fan-fold underlayment
This creates a smoother surface for your siding and helps reduce energy loss.
Prepare Around Windows, Doors & Roof Lines
The areas around your home’s openings are the most vulnerable to water intrusion.
Before installing vinyl siding:
- Install drip-cap flashing above windows and doors.
- Ensure Z-flashing is present where needed.
- Use high-quality caulking around penetrations like vents and hose bibs.
Correct prep work in these areas prevents costly future water damage. Hope this section will be useful as you start learning how to install vinyl siding.
✅ 6 Step Guide to Install Vinyl Siding

Learning how to install vinyl siding is straightforward when you break it into manageable steps. Follow these key instructions, and you’ll have your siding up in no time.
1. Install the Starter Strip
The starter strip serves as the foundation for your vinyl siding and is critical to ensuring the entire installation is aligned correctly. Begin by measuring and marking a level line around the base of your home. This line will guide the placement of the starter strip. Securely nail the starter strip along this line, ensuring it is perfectly level as you go.
Use galvanized nails to prevent rust, spacing them about 16 inches apart. If the starter strip isn’t level, it can cause the siding to look crooked and create gaps later on. Double-check your work with a spirit level as you progress around the perimeter. Taking the time to install this correctly ensures the first row of siding panels will sit evenly, creating a strong and reliable foundation for the rest of the project.
2. Attach Corner Posts and J-Channels
Once the starter strip is installed, the next step is to add corner posts and J-channels. Corner posts are essential for both structural and aesthetic purposes. They are placed vertically at the corners of your home and act as anchors for the ends of the siding panels. Start by aligning the corner posts with the edge of your home, ensuring they are plumb using a level. Nail them into place, leaving a small gap at the top and bottom to allow for expansion and contraction of the material.
After the corner posts are secured, move on to installing J-channels around all windows, doors, and eaves. J-channels are U-shaped trim pieces that frame the siding panels, providing a finished appearance while supporting the edges. Cut the J-channels to the appropriate lengths for each opening, ensuring clean, straight cuts at the corners for a polished look.
Secure the J-channels with nails, again leaving a slight gap to account for thermal movement. Properly installing these components ensures the siding panels will fit snugly and look professional. For precision installation, experienced roofing contractors in Raleigh can ensure corner posts and trim pieces are set plumb and secure.
3. Measure and Cut Panels
With the foundational elements in place, it’s time to prepare the vinyl siding panels. Start by measuring each section of your home carefully to determine the exact panel lengths needed. Use a tape measure and mark the measurements directly onto the panels. Keep in mind that vinyl siding expands and contracts with temperature changes, so it’s important to leave about 1/4 inch of clearance at each end of the panels to allow for this movement.
When cutting the panels, use a circular saw fitted with a fine-toothed blade or a sharp utility knife. If using a saw, ensure you cut slowly to prevent cracking or splintering the vinyl. For smaller cuts or intricate angles, a utility knife can provide more precision. Score the panel with the knife and then bend it gently until it snaps along the scored line. Take care to label each cut panel to avoid confusion during installation. By preparing the panels correctly, you’ll save time and ensure a seamless fit during the attachment process. Accurate measurement is key for siding and roofing projects. Learning how to measure a roof for shingles can sharpen your skills for precise panel cuts. Now that you understand how to install vinyl siding, let’s ensure the starter strip is positioned perfectly for your project.
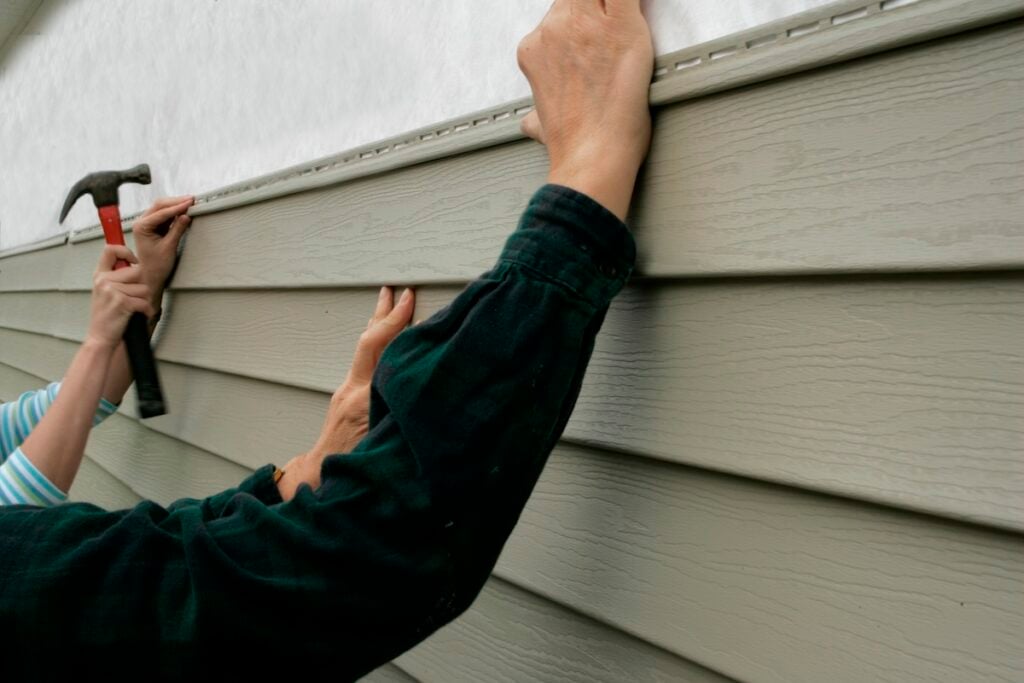
4. Attach the Panels
When learning how to install vinyl siding, corner posts play an essential role in maintaining the overall appearance and structure. Now it’s time to begin attaching the vinyl siding panels to your home. Start with the bottom-most row, locking the first panel into the starter strip. This step is crucial, as it sets the alignment for all subsequent rows.
Use the pre-punched slots in the panel to guide your nails. Place the nails in the center of each slot and leave about 1/16 inch of space between the nail head and the panel to allow for movement. Driving the nails too tightly can restrict the panel’s ability to expand and contract, leading to buckling or warping over time.
Understanding how to install vinyl siding includes knowing the correct methods for measuring and cutting panels to fit your home. Work your way horizontally along the wall, ensuring each panel locks securely into the one below it.
Use a level periodically to check that the panels remain straight as you progress. Take your time to align each panel properly, as mistakes in the lower rows can create larger issues as you move up the wall. This step establishes the foundation for a durable, weather-resistant siding system that will last for years. If you’re not confident handling panel alignment, roofing experts in Knightdale provide professional installation to guarantee a flawless finish.
As you learn how to install vinyl siding, remember to use the right tools to ensure a clean cut and avoid damaging the material.
5. Overlap Seams
Following the outlined steps on how to install vinyl siding ensures each panel is securely attached and aligned properly. As you attach the panels, you’ll need to connect them by overlapping the seams. Overlap each panel by at least one inch, ensuring there are no gaps that could expose the underlying structure to moisture or air infiltration. This overlap provides the flexibility needed for the vinyl to expand and contract naturally with temperature changes, preventing gaps or buckling.
Grasping how to install vinyl siding means mastering the technique of overlapping seams for a waterproof finish. To enhance your skills, knowing how to install vinyl siding properly requires careful attention to detail during this crucial step.
To create a more seamless and professional appearance, avoid aligning the seams in a straight vertical line. Instead, stagger the panel overlaps randomly across the surface of your home. This approach minimizes the visibility of the seams and enhances the overall aesthetic of the siding. Take extra care to ensure the overlaps are consistent in size and securely locked into place. Properly overlapping the seams not only maintains the structural integrity of the siding but also gives your home a polished and cohesive look.
By focusing on how to install vinyl siding correctly, you will achieve a polished finish that complements your home’s design.
6. Finish the Top Row
The final step is to complete the top row of siding. Begin by measuring the gap between the top of the last full panel and the eaves of your home. Use these measurements to trim the panels to the appropriate size. A utility knife works well for this, especially for smaller or more detailed cuts. Be sure to leave about 1/4 inch of clearance to allow for expansion.
Once the panels are trimmed, slide them into place, ensuring they fit snugly within the J-channels installed earlier. Check that the top row is level and properly aligned with the rest of the siding. Secure the panels by locking them into the row below and using the J-channels to hold the top edges in place. The J-channels not only provide a clean, finished look but also keep the panels securely positioned.
Once you’ve completed the installation, reflecting on how to install vinyl siding helps ensure the longevity of your work. With this final touch, your vinyl siding installation is complete. Your home is now protected from the elements and boasts a fresh, professional appearance.
Take a step back and admire your work—you’ve successfully installed a durable and visually appealing siding system! Pairing your siding with the best roof shingles enhances your home’s style and durability.
After you learn how to install vinyl siding, maintaining it will keep your investment looking fresh and new. Regular cleaning is essential to extend its life.
Expansion/Contraction & Proper Fastening Techniques
When learning how to install Vinyl siding, it is important to understand that it is designed to “float.” Unlike wood or fiber cement, vinyl expands and contracts significantly with temperature changes. Improper fastening is the #1 cause of warping, buckling, and panel failure. Following these principles ensures long-term performance and a uniform appearance.
Allow for Seasonal Expansion and Contraction
When learning how to install vinyl siding, remember it can expand or shrink up to ½ inch or more depending on the temperature. To accommodate this movement:
- Leave a ¼-inch gap where panels meet J-channels, corner posts, or other trim.
- Leave ⅜-inch gap during hot weather installations.
- Do not force or stretch panels during installation—let them hang naturally.
This keeps the siding aligned year-round.
Use the Right Nails or Fasteners
Proper fasteners are essential for long-term durability. Use:
- Corrosion-resistant roofing nails or siding nails
- Nail length: 1⅛ inch to 2 inches, depending on wall layers
- Nail head diameter: ⅜ inch minimum
Avoid galvanized nails that are too thin; they can loosen over time and cause panels to rattle.
Nail in the Center of the Slot
Each siding panel has long, horizontal nail slots. Always drive the nail in the center of the slot to allow free movement. Nailing at the top or bottom of the slot locks the panel in place and increases the likelihood of buckling.
Do Not Drive Nails Tight
This is the most important rule:
Leave about 1⁄16 inch (the thickness of a nickel) between the nail head and the siding panel. Panels should slide freely. If you tug a panel sideways with your hand and it does not move, it is nailed too tightly and must be loosened.
Fastener Spacing
Space fasteners:
- Every 16 inches on center (standard stud spacing)
- Every 12 inches in high-wind zones
- No more than 8–12 inches from each end of a panel
Consistent spacing prevents sagging and fluttering.
Overlap Panels Correctly
When learning how to install vinyl siding, remember the panels must overlap for proper movement. Follow manufacturer guidelines, but most panels require:
- 1 inch minimum overlap
- Stagger overlapping seams between courses
Secure J-Channels, Starter Strips & Trim First
Trim components also must “float,” but they are usually fastened more firmly.
Guidelines:
- Nail every 6–12 inches depending on component.
- Do not warp trim during installation.
- Leave recommended gaps near corners and joints.
Check Movement As You Work
Before moving on to the next course:
- Pull the panel gently—confirm it slides left-to-right with moderate pressure.
- Ensure the panel is not tensioned or forced into place.
- Confirm that overlaps are consistent.
👉 How to Maintain Vinyl Siding
Regular inspections after learning how to install vinyl siding help identify any potential issues before they become major problems.
Once you learn how to install vinyl siding, it’s important to maintain it to keep it looking its best. Thankfully, vinyl siding is low-maintenance and durable. Lastly, understanding how to install vinyl siding includes knowledge of landscaping maintenance to protect your investment.
Regular Cleaning
Our team can guide you through how to install vinyl siding while providing valuable insights to make your project a success. Don’t hesitate to reach out for assistance on how to install vinyl siding correctly—experts are just a call away!
To keep your siding looking its best, make it a habit to clean it at least once a year. Use a garden hose and a mixture of mild soap and water to gently wash away dirt, grime, and any buildup. Be sure to avoid using a pressure washer, as the high-pressure spray can damage or loosen the panels, potentially leading to costly repairs.
Inspect for Damage
At the end of every season, take some time to carefully inspect your siding for any signs of wear and tear. Look for cracks, warping, or loose panels that could compromise the integrity of your home’s exterior. If you notice any damaged sections, replace them as soon as possible to prevent further issues like water infiltration or pest problems.
Trim Landscaping
Overgrown trees and bushes growing too close to your siding can create scratches, encourage moss or algae growth, and even trap moisture against the surface. Regularly trim back vegetation to ensure it doesn’t come into contact with your siding. This simple step can significantly extend the life of your siding while maintaining your home’s curb appeal.
Regular inspections after learning how to install vinyl siding help identify any potential issues before they become major problems.
🏠 Vinyl Siding Installation
While how to install vinyl siding might seem like a task you can tackle yourself, achieving long-lasting, professional results requires the expertise of a trusted team. At Barkley-Jensen Roofing & Restoration, we combine expert craftsmanship, premium materials, and unmatched customer care to ensure your siding protects your home for years to come. Not sure if vinyl is right for you? Explore different types of siding to compare options before making your decision.
To keep your siding looking its best, make it a habit to clean it at least once a year. Use a garden hose and a mixture of mild soap and water to gently wash away dirt, grime, and any buildup.
Don’t leave your home’s exterior to chance—let our skilled team handle the hard work so you can enjoy peace of mind. Contact us today to schedule a consultation, and take the first step toward transforming your home with quality vinyl siding! Remember, understanding how to install vinyl siding is crucial for your project’s success.