How to Measure a Roof for Shingles: 7 Step Guide
07.29.2025
9 Min Read
Measuring your roof for shingles might seem overwhelming, but with the right approach and tools, you can get accurate measurements for your roofing project. Whether you’re planning a DIY installation or preparing for professional estimates, understanding how to measure a roof for shingles will help you budget effectively and ensure you order the right amount of materials.
This comprehensive guide will walk you through everything you need to know about roof measurement, from essential tools and safety considerations to detailed calculation methods. We’ll cover:
- Essential tools and safety equipment needed for roof measurement
- Step-by-step measurement process for different roof types
- How to calculate square footage and convert to roofing squares
- Common measurement mistakes and how to avoid them
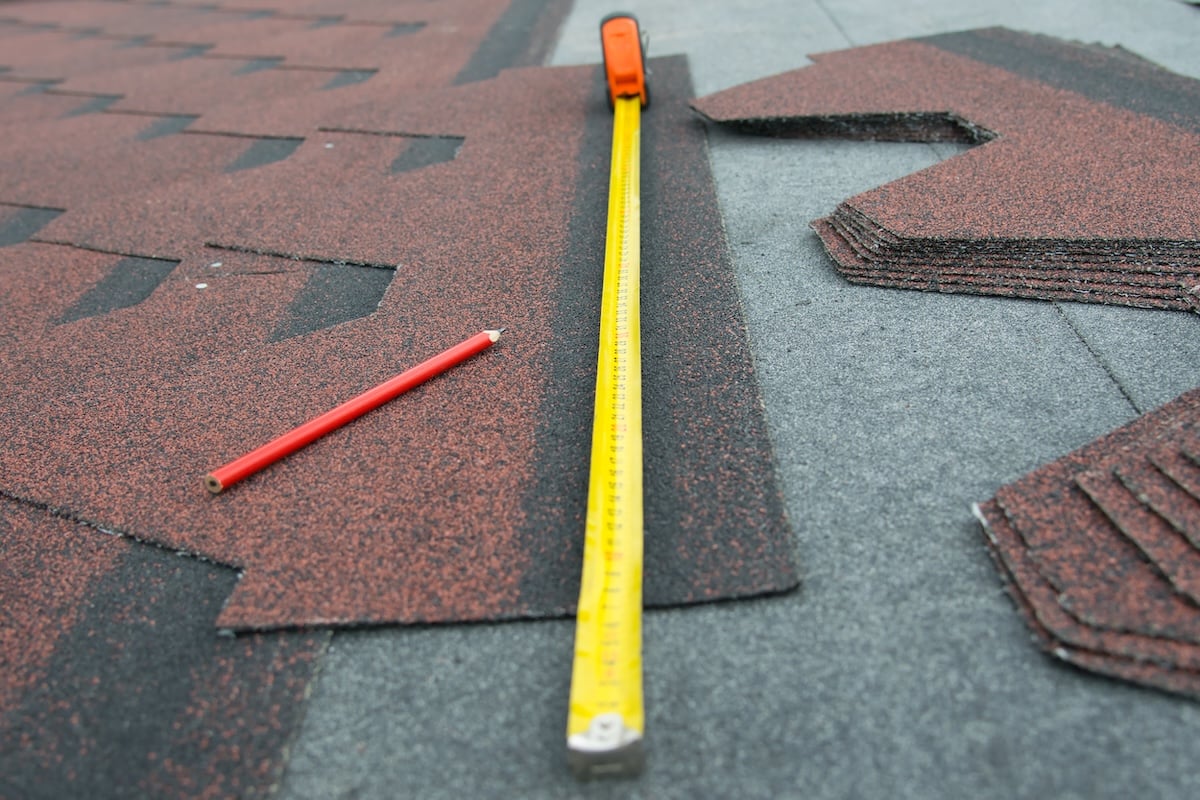
The Right Tools for Measuring Your Roof
Before you begin measuring your roof for shingles, gather the essential roofing tools to ensure accuracy and safety. Having proper equipment makes the difference between precise measurements and costly mistakes. Many homeowners rely on trusted roofing services in Cary for professional guidance and inspections.
Required Measuring Tools:
- 25-foot measuring tape (minimum)
- Calculator or smartphone with calculator app
- Notepad and pencil for recording measurements
- Graph paper for sketching your roof layout
- Ladder (if measuring from the roof)
- Digital camera or smartphone for reference photos
Safety Equipment:
- Non-slip shoes with good grip
- Safety harness and rope (for steep roofs)
- Hard hat
- Work gloves
- Someone to spot you while on the ladder
Optional but Helpful:
- Laser measuring device for long distances
- Drone with camera (for aerial measurements)
- Binoculars for ground-level observations
- Roofing square or speed square
✅ 7 Steps to Measure a Roof for Shingles
Follow this detailed process to accurately measure your roof for shingles. These steps work for most residential roof types and provide the foundation for calculating material needs and calculate roof shingles required.
1. Create a Roof Sketch
Start by drawing a simple outline of your roof as seen from above. Include all roof sections, marking approximate dimensions and angles. This sketch will act as your measurement map, helping you stay organized and ensure no areas are overlooked during the process.
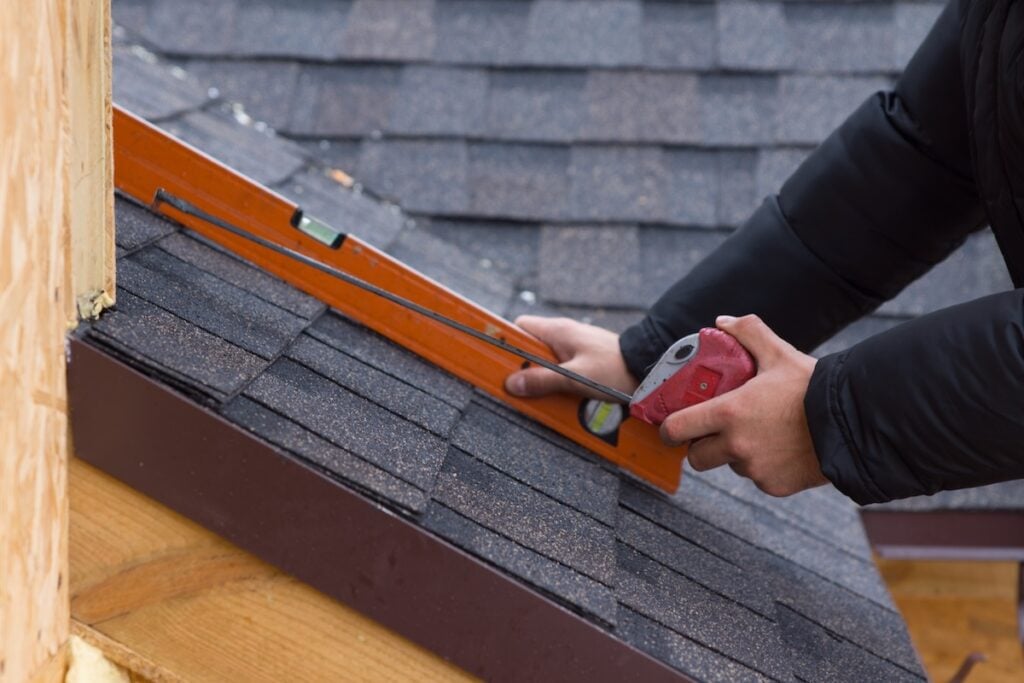
2. Measure Each Roof Section
Work methodically and measure each distinct roof plane separately:
- Measure the length of each roof section along the eave (the lower edge).
- Measure the width by finding the distance from the eave to the ridge (the peak of the roof).
- Record all these measurements clearly on your sketch, labeling each section.
- Take photos of any complex or hard-to-measure areas for reference later. This step ensures accuracy, especially for irregular roof shapes.
If you’re unsure about angles or complex roof planes, roofing experts in Raleigh can ensure accurate measurements.
3. Calculate Individual Section Areas
For rectangular sections, multiply the length by the width to determine the area in square footage. For triangular sections, use the formula: (base × height) ÷ 2. Make sure to calculate each section one at a time for better accuracy. Label and list these areas on your sketch to keep track of your progress.
4. Account for Roof Pitch
The roof pitch impacts the actual surface area due to the slope. Use pitch multipliers to adjust your measurements:
- A 4/12 pitch requires multiplying by 1.054, while a 6/12 pitch uses 1.118, and so on.
- Refer to the correct multiplier for your roof slope to ensure your calculated square footage reflects the true surface area.
5. Add All Sections Together
Once you’ve calculated the surface area for each section, sum them all together to get the total roof square footage. This number represents the complete surface area of your roof that requires asphalt shingles or other materials.
6. Convert to Roofing Squares
To simplify material estimation, convert your total square footage into roofing squares (1 roofing square = 100 square feet). Divide the total square footage by 100. For example, if your roof measures 2,400 square feet, you’ll need 24 roofing squares.
7. Add Waste Factor
Account for additional material needed due to waste from cuts, overlaps, and starter strips. Add 10-15% extra to your total. For simpler roofs, 10% should suffice, but more complex roofs with multiple angles and intersections may require closer to 15%. This ensures you don’t run out of materials during installation. For homes with steep slopes or multiple ridges, consulting Knightdale roofers helps ensure you order the right amount of material.
Ground-Level Measurement Methods
Not comfortable climbing on your roof? You can still get accurate measurements from the ground using these proven techniques for measuring your roof for shingles.
Aerial Measurement Method
Satellite imagery services like Google Earth can help you measure your roof’s outline from above. While not as accurate as direct measurements, this method is a handy starting point for estimating basic roof dimensions, especially for simpler roof shapes.
Mathematical Calculation Method
You can calculate your roof area by measuring your home’s footprint from the ground and factoring in the roof pitch. This method works best for straightforward designs like gable roofs, where the pitch is easy to determine and apply in calculations.
Drone Measurement
Drones provide a modern and effective way to measure your roof. By capturing high-resolution images from multiple angles and using measurement apps, you can achieve detailed and accurate dimensions without climbing on the roof.
Professional Measurement Services
Many roofing companies include free measurement services as part of their estimate process. This is the most accurate option and keeps you safely on the ground while professionals roofers handle the calculations.
Common Measurement Mistakes to Avoid
Even experienced DIYers make measurement errors when learning how to measure a roof for shingles. Avoid these common pitfalls to ensure accurate calculations.
Not Accounting for Pitch
Roof pitch plays a big role in determining the actual surface area of a roof. Ignoring pitch multipliers can lead to significant underestimations. For example, a 6/12 pitch roof has approximately 12% more surface area than its flat horizontal footprint. Always account for pitch to ensure accurate material estimates. Along with precise measurements, choosing the best roof shingles ensures long-lasting protection and value.
Forgetting Complex Areas
Details like dormers, bay windows, and roof intersections are easy to overlook but can add significant square footage to the total roof area. Miscalculating or ignoring these features can result in running out of materials or underestimating costs. Be thorough when including these areas in your calculations. Overlooking roof edges and trim can also affect accuracy—issues often tied to fascia board replacement.
Inadequate Waste Factor
Ordering only the exact amount of materials calculated leaves no room for cutting errors, damaged pieces, or unexpected repairs. To avoid delays or shortages, always include a waste factor—typically 10–15%—in your material order, depending on the complexity of the project.
Ignoring Safety
Skipping proper safety equipment or attempting to take roof measurements in unsafe conditions can lead to avoidable accidents and serious injuries. Always prioritize safety by using the right tools, harnesses, and procedures to protect yourself and others on the job.
Mixing Up Units
Mixing up units of measurement—like confusing linear feet with square feet or neglecting to convert measurements into the proper units—can lead to major calculation errors. Always double-check that your measurements are consistent and in the correct units before proceeding.
Not Double-Checking
Measurement errors can quickly add up and compound through calculations, leading to costly mistakes. Always take the time to verify your measurements, review your math, and recalculate totals to ensure accuracy before placing orders.
When Do You Need a Roof Measurement?
The question of how to measure a roof for shingles isn’t just for homeowners doing a DIY project. They are a fundamental first step for almost any roofing project, big or small. Knowing your roof’s exact square footage, pitch, and dimensions is essential for getting accurate quotes and ensuring the project is completed efficiently.
Here are the most common scenarios that require a precise roof measurement:
- For a New Installation: Whether for new construction or a complete tear-off and re-installation, a detailed measurement ensures you order the exact amount of materials needed. This prevents costly waste from over-ordering and delays from under-ordering.
- For Roof Replacement: Even if a roof isn’t new, you’ll need its dimensions to plan for a full roof replacement. This measurement will be used to calculate material costs, labor hours, and the scope of work.
- For Repairs and Patches: While a small repair may not require a full roof measurement, understanding the dimensions of the affected area is critical. This helps a professional determine how much material is needed and how to properly integrate a patch without affecting the surrounding shingles.
- For Insurance Claims: After a storm or other severe damage, an accurate roof measurement is a key component of the insurance claim process. Having detailed registration of the damage and the reparation process is key to guaranteeing how to get insurance to pay for roof replacement. With proper guidance, you can ensure you get the full value of your claim. Accurate dimensions are also crucial for estimating repairs, such as understanding flat roof replacement cost.
- For Budgeting and Quotes: Before you even hire a contractor, having a basic measurement can help you get a preliminary cost estimate. This allows you to set a realistic budget and compare quotes more effectively.
How Roof Size Affects Material Choice and Cost
Understanding your roof’s measurements also helps you make smarter decisions about shingles. Beyond quantity, size plays a role in which products may be the best fit for your home.
| Roof Size | Material Options | Considerations |
| Under 1,500 sq. ft. | Architectural shingles, 3-tab shingles | Lower waste factor, cost-effective |
| 1,500–3,000 sq. ft. | Architectural shingles, metal options | Greater material variety, moderate cost |
| Over 3,000 sq. ft. | Designer shingles, premium products | Higher upfront cost, long-term value |
Larger roofs amplify the cost of labor, delivery, and cleanup. They also make proper measurement even more critical, especially when ordering bulk materials.
Trust Barkley-Jensen for Your Roofing Needs
Accurately measuring a roof for roofing shingles is an essential step in any roofing project, but it’s just the beginning. At Barkley-Jensen Roofing & Restoration, we go beyond measurements to deliver roofing solutions tailored to your home and built to withstand North Carolina’s unique weather conditions. With years of experience, unmatched craftsmanship, and a commitment to clear communication, our team has earned the trust of homeowners across central and eastern North Carolina.
When it comes to your roof, don’t leave anything to chance—trust the experts who put precision and customer satisfaction first. Contact Barkley-Jensen Roofing & Restoration today for your free roof measurement and estimate, and let us help you protect your home with a roof built to last.