





 Get Started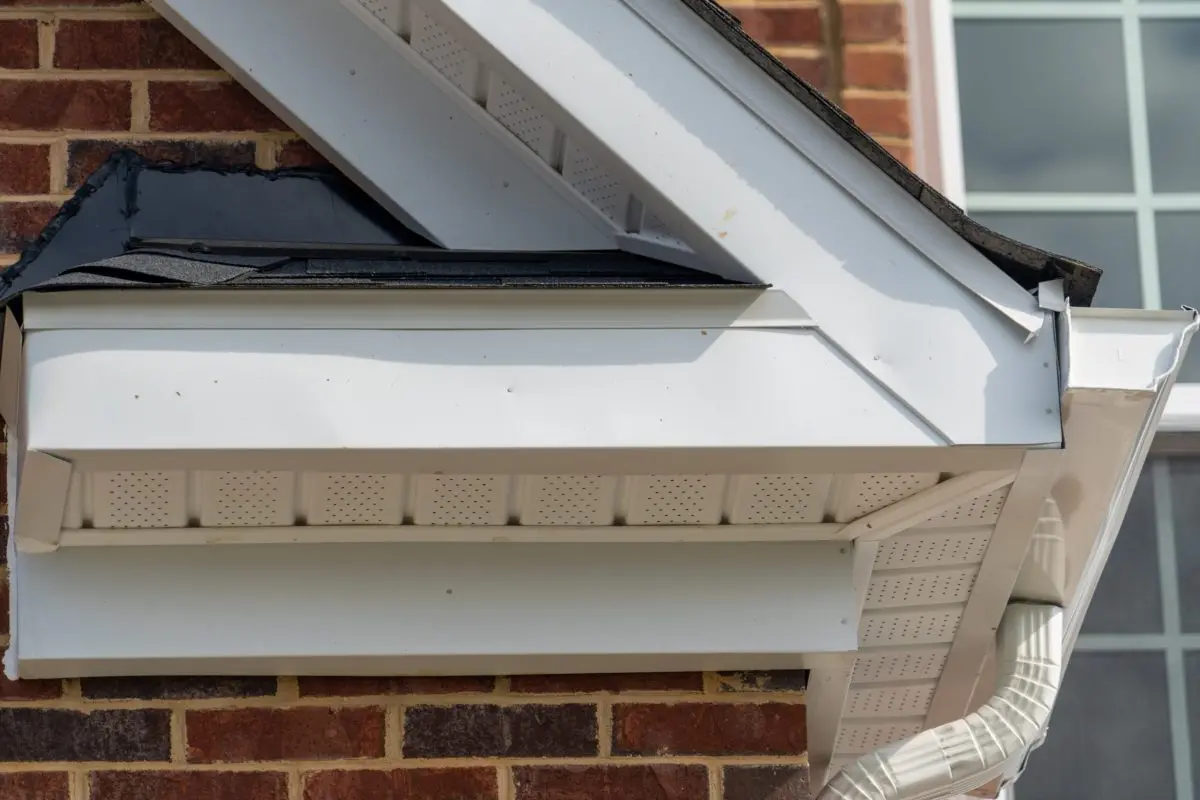
Installing Drip Edge On Existing Roof (6 Step Easy Guide)
09.24.2026
13 Min Read
Missing drip edge is one of the most common and most preventable causes of fascia rot and roof deck damage on older homes. Many roofs installed before code standards tightened simply don’t have it, and the damage compounds quietly for years before anyone notices. For property owners in Knightdale and surrounding areas, installing drip edge on an existing roof is a retrofit that protects far more than it costs. Whether you’re a hands-on homeowner or you’re trying to understand what your contractor is proposing, knowing how this process works puts you in a much better position. See how proper edge protection fits into a comprehensive approach to roofing for a fuller picture of what quality roof work actually involves.
Here’s what this guide covers:
- Why drip edge matters and what happens when it’s missing
- The tools and materials you need before starting
- A complete six-step drip edge installation process for existing roofs
- Common mistakes that compromise the installation
- When to call a professional instead of attempting it yourself
Why Installing Drip Edges Is More Important Than Most Homeowners Think
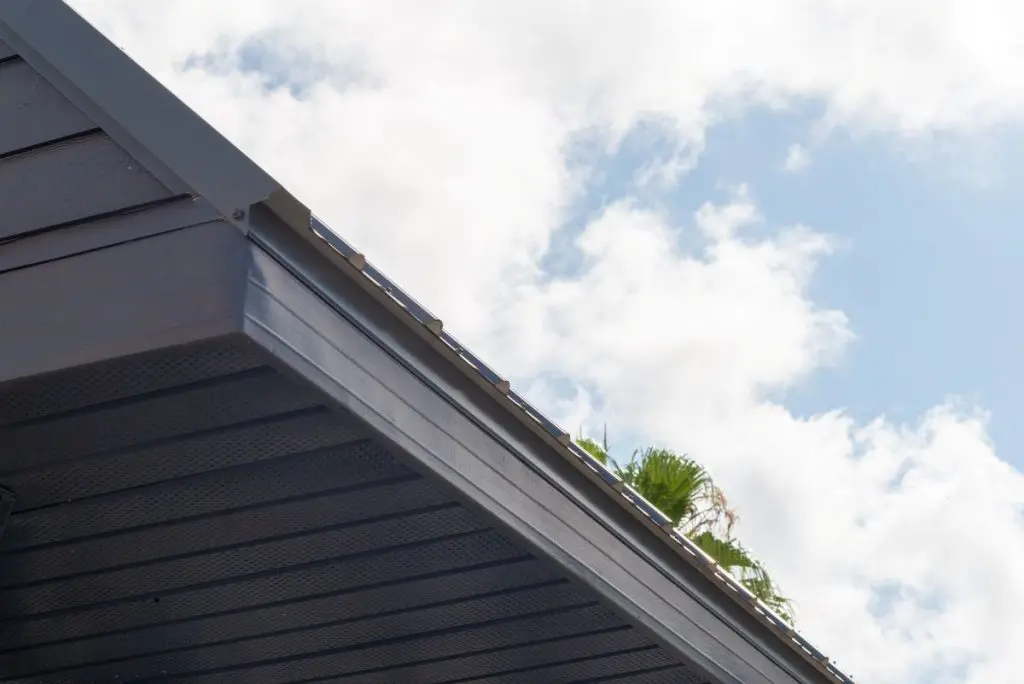
Drip edge is a simple metal or aluminum strip, but its job is not simple. It creates a continuous barrier at every roof edge that directs water cleanly off the shingles, over the fascia, and into the gutter. Without it, water curls back under the shingles at the eave, saturates the fascia board, and eventually reaches the roof deck. That process happens slowly and invisibly, which is part of what makes missing drip edge so destructive.
In Knightdale and surrounding areas, where heavy summer rain events are routine, this problem accelerates faster than in drier climates. A roof edge without proper drip edge protection is constantly being tested by water that has nowhere controlled to go.
Here’s what’s actually at risk when drip edge is absent or installed incorrectly:
- Fascia board rot: The fascia is the primary wood surface at the roof’s edge. Repeated water contact causes the wood to absorb moisture, swell, and eventually rot. Once the fascia is compromised, it affects gutter attachment and can spread damage to rafter tails behind it.
- Roof deck deterioration: Water that gets behind the fascia doesn’t stop there. It wicks into the roof deck, causing plywood delamination or OSB swelling that creates structural issues requiring far more than a drip edge retrofit to fix.
- Shingle edge failure: Shingles at the eave without drip edge support have no solid metal edge to sit against. Over time, they curl, crack, and lift at the outermost course well before the rest of the roof shows wear.
- Wind uplift vulnerability: At the rake edges, drip edge mechanically holds the underlayment edge against the roof deck. Without it, wind gets underneath the underlayment during storm events and creates a bellowing effect that can lift underlayment and shingles above it.
- Gutter misalignment: Drip edge ensures water flows into the gutter channel rather than behind it. Without that lip directing water properly, gutters fill from the wrong direction and water ends up behind the gutter and against the fascia.
6 Steps For Drip Edge Installation On An Existing Roof
Retrofitting drip edge on an existing roof is different from installing it during a new installation because the shingles are already in place. The process requires careful lifting of existing materials rather than starting from a clean deck. Here is the complete process, broken into six manageable steps.
1. Inspect, Measure, And Gather Materials
Before any work begins, walk the full perimeter of the roof and assess what you’re working with. Look for signs of existing fascia rot, damaged or missing sections of existing drip edge, and the condition of the first course of shingles at the eave. In Knightdale and surrounding areas, it’s worth doing this inspection before and after a significant rain event to see exactly where water is traveling.
Measure the total linear footage of eaves and rake edges separately. Eaves are the horizontal edges at the bottom of each slope; rakes are the angled edges along the gable ends. You will need slightly different installation techniques for each.
Materials needed:
- Drip edge flashing in the correct profile (aluminum or galvanized steel for most applications; aluminum resists corrosion particularly well in humid climates)
- Roofing nails, 1.5 to 2 inches, with a minimum 12-gauge shank
- Roofing cement or compatible sealant for overlap joints
- Tin snips for cutting corners and overlaps
- Flat pry bar for gently lifting the first shingle course
- Hammer or nail gun set to appropriate depth
- Work gloves, safety glasses, and appropriate footwear for roof work
2. Remove Gutters Before You Install A Drip Edge
On most retrofits, the gutters need to come down along each eave section before drip edge can be installed behind them. Gutters mount directly to the fascia, and drip edge needs to sit between the fascia and the gutter’s back flange. Attempting to install a drip edge with gutters in place typically results in a poor termination that doesn’t direct water properly.
Remove gutter hangers or spikes carefully to avoid damaging the fascia below. In older installations in Knightdale and surrounding areas, fascia boards may already show some softness or rot at hanger locations. Document any rot you find before proceeding, as this may need to be addressed before drip edge installation makes sense.
- Disconnect any downspout connections before removing gutter sections
- Label gutter sections if you plan to reinstall the same pieces
- Set gutters aside carefully to avoid bending the profile
3. Install Drip Edge Flashing Along The Eaves
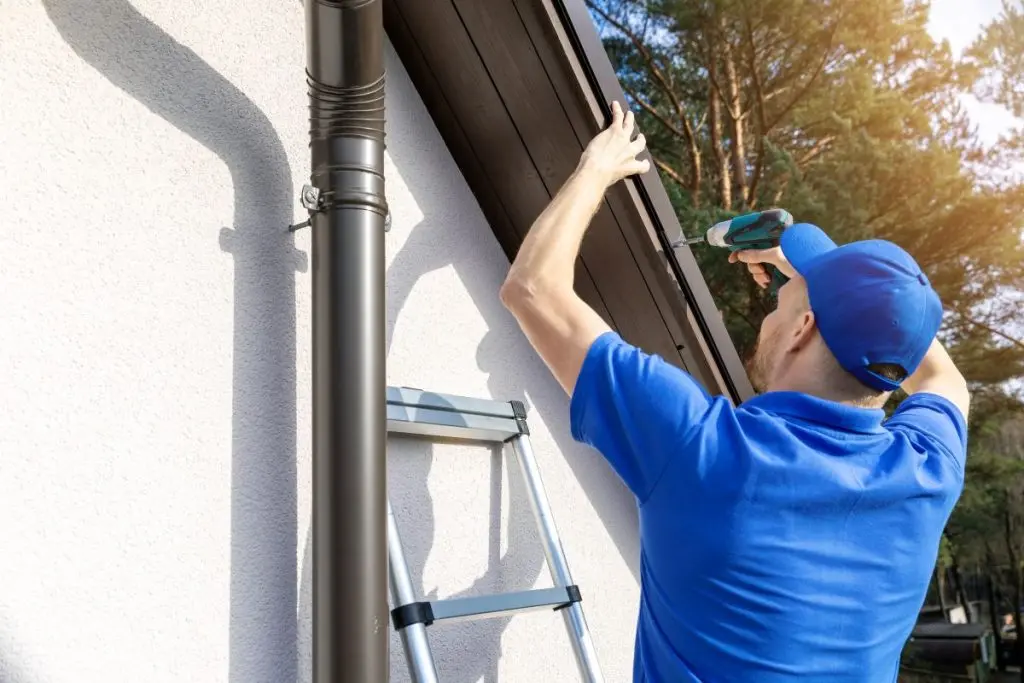
Eave installation is where you start, and it requires gently lifting the first course of shingles to slide the drip edge flashing underneath. A flat pry bar works best for this. Work slowly and avoid over-flexing the shingles, especially in cooler temperatures when asphalt is less pliable. The goal is to create just enough gap to slide the top flange of the drip edge beneath the first shingle course and onto the roof deck.
Position the drip edge so the top flange lies flat against the roof deck and the outer lip overhangs the fascia by approximately a quarter to half inch. This overhang is what directs water off the edge and into the gutter rather than letting it curl back against the wood.
- Begin at one corner and work horizontally across each eave section
- Overlap adjacent drip edge sections by at least 2 inches, with the upper piece on top to maintain proper water flow
- Nail through the top flange into the roof deck at no more than 12 inches on center
- Apply a small bead of roofing cement at each overlap joint for a watertight seal
4. Secure Drip Edge Along The Rake Edges
Rake edge installation follows a different sequence than eave installation. On rake edges, the drip edge sits on top of the underlayment rather than underneath it. For a retrofit where the underlayment is already in place, this means the drip edge slides under the shingles at the rake edge but sits above the underlayment layer.
Always start at the bottom of the rake edge and work upward toward the peak. This ensures that each successive piece overlaps the one below it, maintaining the downward water flow direction. At the point where rake drip edge meets eave drip edge at the corner, the rake piece should lap over the eave piece.
- Begin at the bottom corner where rake meets eave and work toward the ridge
- Overlap each section by at least 2 inches, with the upper piece on top
- The rake drip edge at the bottom corner laps over the eave drip edge
- Nail through the outer flange into the fascia or rake board at 12-inch intervals
5. Cut And Fit Edge Flashing At Corners
Corners are where most DIY drip edge installations go wrong. An inside or outside corner requires precise cutting and bending to create a clean, watertight termination. For outside corners, a V-shaped cut through the edge flashing allows the piece to bend cleanly around the corner without overlapping material that creates a bump. For inside corners, cuts are made at the appropriate angle and the pieces are overlapped and sealed.
Take measurements carefully before making cuts. Tin snips are the correct tool for this work. Always wear gloves when cutting drip edge, as the cut edges are extremely sharp.
- Outside corner cut: make a V-cut through the lower flange to allow a clean bend around the corner
- Inside corner: cut two separate pieces and overlap them at the corner, with roofing cement sealing the joint
- Test the fit before nailing to ensure the corner lies flat with no gaps or raised edges
6. Reinstall The Gutter Apron And Do A Final Inspection
With all drip edge sections installed and corners completed, the gutter apron and gutters can be reinstalled. The gutter apron refers to how the drip edge lip and gutter back flange work together; the back of the gutter should sit against the fascia directly below the drip edge lip, with the gutter positioned so that water flowing off the drip edge lands cleanly inside the gutter channel rather than behind it.
Walk the entire perimeter after reinstallation and inspect every overlap joint, every corner, and every nail line. Confirm that the drip edge lip extends beyond the fascia edge and that there are no lifted sections or gaps at any joint. If accessible during a rain event, observe the water flow to confirm it is being directed correctly into the gutters.
- Ensure gutter hangers are secured into sound wood, not previously rotted areas
- Re-seal any hanger penetrations through the drip edge or fascia
- Check that downspouts are properly reconnected and draining away from the foundation
Common Mistakes When Installing Drip On An Existing Roof
Even a project that follows the right sequence can fall short if certain execution details are missed. These are the most common errors that cause drip edge retrofits to fail prematurely or perform poorly regardless of roof type, whether it’s an asphalt shingle system, a metal roof retrofit, or any other configuration.
- Installing rake before eave: The correct sequence is eave first, then rake. The rake drip edge at the bottom corner must lap over the eave drip edge. Reversing this creates a water entry point at the corner that defeats the purpose of the installation.
- Insufficient overlap: Sections overlapped less than 2 inches, especially at horizontal eave runs, allow water to wick through the seam under wind-driven rain conditions. The 2-inch minimum is not arbitrary; it’s the threshold at which capillary action is effectively interrupted.
- No sealant at joints: Nailing overlaps without a bead of roofing cement between them creates a path for water infiltration that becomes apparent during heavy rain with wind. Seal every overlap joint.
- Over-nailing or under-nailing: Nails spaced beyond 12 inches on center leave sections that can lift in wind events. Nails driven too deep can distort the drip edge profile and create gaps at the fascia edge.
- Skipping gutter removal: Installing drip edge on top of or around existing gutters rather than behind them is a shortcut that compromises the water direction function entirely. The drip edge lip must be positioned to direct water into the gutter, not behind it.
- Using incompatible metals: On a metal roof or any application combining different metal components, mixing steel fasteners with aluminum drip edge, or combining copper and galvanized sections, creates galvanic corrosion over time that degrades both materials. Use compatible metals throughout.
When A Drip Edge Replacement Or Professional Install Is The Right Call
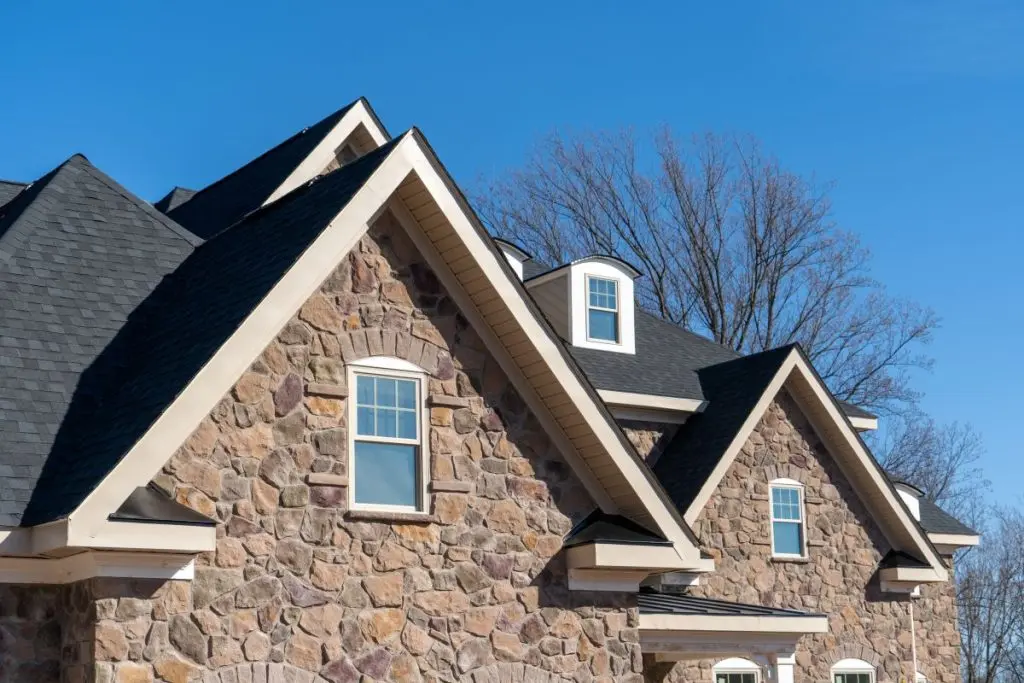
Installing drip edge on an existing roof is manageable for experienced DIYers on a single-story home with accessible eaves. The project becomes significantly more complex and higher-risk in several situations, and those are the cases where professional drip edge replacement or installation is the right call.
Steep Or High Roofs
Working on a roof pitch above 6:12 requires different safety equipment and more experience with roof work than a standard low-slope situation. Falls are the leading cause of serious injury in DIY roofing projects. In Knightdale and surrounding areas, a professional inspection and quote is typically available same-day and costs significantly less than an emergency room visit.
Existing Fascia Or Deck Damage
If the inspection in Step 1 reveals rot in the fascia board, soft spots in the deck near the eave edge, or delaminated plywood, those structural issues need to be addressed before or in conjunction with the drip edge installation. This adds scope that typically requires professional equipment and material handling.
Full Drip Edge Replacement Versus Spot Repair
Not every situation calls for a full perimeter retrofit. If only one section of the existing drip edge has failed, a targeted drip edge replacement of that section may be the appropriate scope. A professional can evaluate whether the rest of the drip edge is performing adequately or whether a full replacement is the more cost-effective path given the roof’s age and condition.
Brittle Or Aged Shingles
On older roofs, shingles near the eave can be brittle enough that lifting them even slightly for drip edge installation causes cracking or breaking. A damaged first course creates a new leak point that didn’t exist before the project started. A professional can assess whether the shingles are in a condition suitable for a retrofit, or whether a full new roof installation makes more economic sense than continuing to invest in an aging system.
Multiple Stories Or Complex Rooflines
Multi-story homes, rooflines with multiple valleys, or structures with unconventional corner configurations make drip edge installation significantly more complex. Errors in corner cuts and transitions on complex rooflines are hard to spot from the ground and harder to repair after gutters are reinstalled.
Get It Done Right The First Time
A drip edge retrofit done correctly is a one-time fix that protects your fascia, deck, and shingles for the full remaining life of the roof. Done incorrectly, or skipped entirely, it’s a problem that reveals itself gradually in the form of rot, water staining, and eventually structural repair costs that dwarf what proper installation would have cost. The difference between a roof edge that handles North Carolina rain events cleanly and one that quietly saturates your fascia every storm season often comes down to this single, overlooked detail.
At Barkley-Jensen Roofing and Restoration, we help property owners in Knightdale and surrounding areas address exactly this kind of issue, whether it’s a straightforward retrofit, a discovery during a broader repair, or a question about what’s really happening at the edge of an aging roof. If you’re not sure whether your roof has proper drip edge or if you’ve already spotted signs of edge damage, contact us today and the Barkley-Jensen team will get your inspection on the schedule.