Roof Leak Repair Guide for Homeowners (Process + DIY Tips)
11.06.2025
7 Min Read
A leaking roof is one of those problems that never seems urgent—until it is. What starts as a small drip can quickly lead to water damage, insulation issues, and even structural rot. Understanding roof leak repair helps homeowners in Apex and surrounding areas act quickly and prevent costly damage before it spreads.
Whether you plan to tackle a minor leak yourself or call in the pros, knowing how the repair process works gives you confidence, control, and peace of mind. If you’re looking to understand repair timelines or want to explore options for lasting protection, visit our roofing page to see how proper installation and maintenance play a role in preventing future leaks.
In this guide, you’ll learn:
- The importance of addressing leaks early
- Step-by-step insight into the repair process
- DIY methods for temporary roof fixes
- Professional repair options and what to expect
Why Prompt Roof Leak Repair Matters
A small roof leak can hide behind drywall or insulation for weeks before becoming visible. By the time you notice stains or drips, water has often already traveled across rafters or soaked into attic materials. Taking quick action protects more than just your roof—it preserves your home’s health and safety.
- Prevents Structural Damage: Water can rot wooden beams, degrade decking, and weaken framing.
- Stops Mold and Mildew Growth: Leaks create the perfect environment for mold, which can spread rapidly in warm, humid climates like Apex and surrounding areas.
- Saves Money: Early intervention keeps repair costs low by avoiding widespread damage.
- Protects Insulation Efficiency: Wet insulation loses its effectiveness, increasing energy bills.
- Preserves Home Value: A dry, well-maintained roof reassures potential buyers and prevents inspection red flags.
Roof leaks rarely stay small. Even a slow drip can lead to thousands in repairs if ignored. That’s why understanding the process—and knowing when to call for help—is so important.
7 Step Roof Leak Repair Process
Professional roof repair involves more than patching holes. The goal is to stop current leaks and prevent future ones through inspection, targeted fixes, and improved sealing.
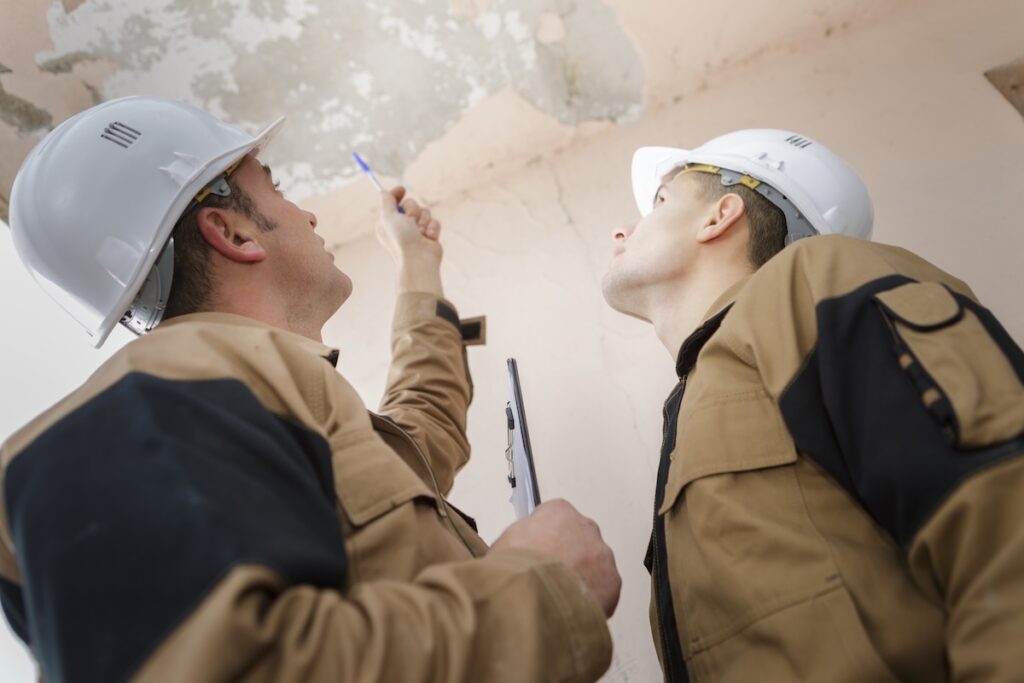
1. Identify the Source of the Leak
Before any repair can happen, the cause must be found. Roofers start with a thorough inspection both inside and outside the home.
- Look for stains on ceilings or attic boards.
- Trace moisture trails to their highest point.
- Examine flashing, shingles, and valleys for signs of wear.
Because water often travels before dripping, the visible damage indoors isn’t always directly below the leak’s entry point. Professionals use specialized tools like moisture meters to pinpoint the source accurately.
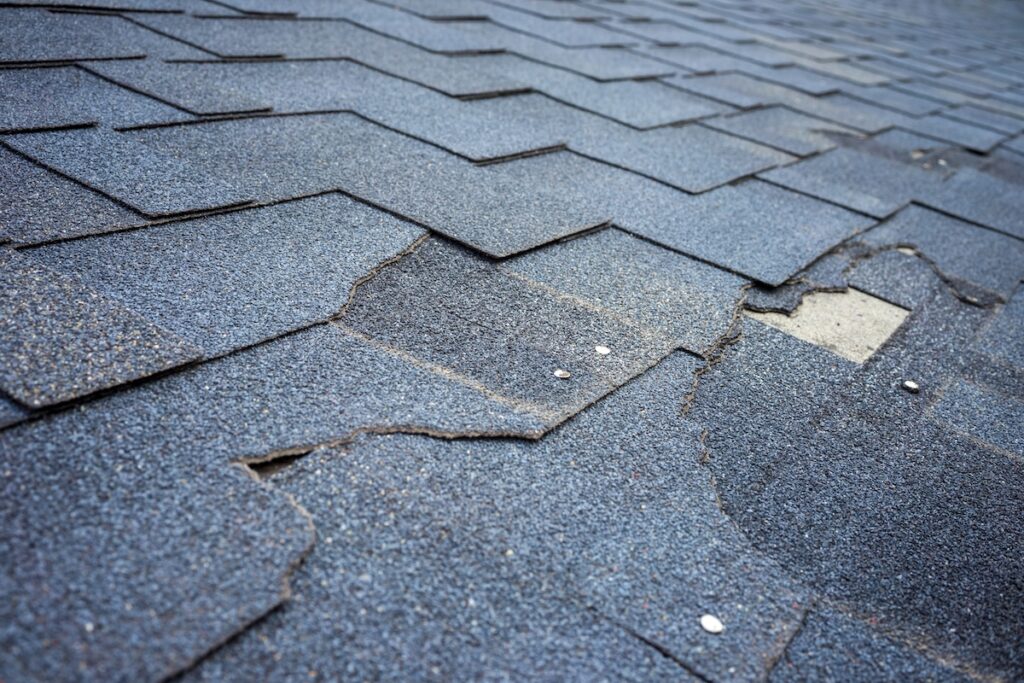
2. Assess the Damage
Once the source is located, the next step is understanding how deep the problem goes. Roofers check for soft decking, rotted wood, and saturated insulation.
- Minor leaks might only affect shingles and underlayment.
- Severe cases may require partial decking replacement.
In Apex and surrounding areas, where summer humidity and winter rains test materials constantly, damage beneath the surface is common—making a professional evaluation crucial.
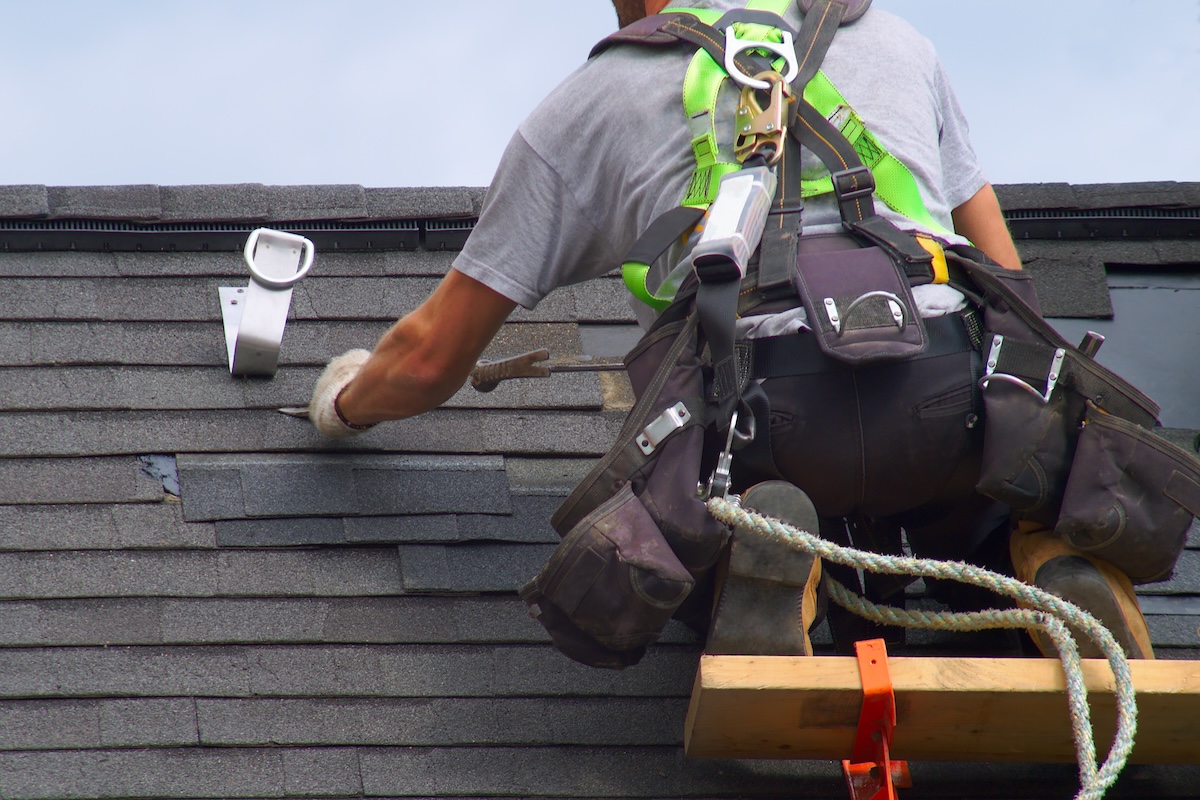
3. Remove Damaged Materials
Damaged shingles, underlayment, and any compromised decking are carefully removed. This ensures repairs attach securely and that no moisture is trapped beneath new materials.
- Nails and debris are cleaned away to create a flat surface.
- Exposed areas are temporarily covered if weather threatens.
This stage sets the foundation for lasting repairs, not quick fixes.
4. Repair the Roof Decking and Underlayment
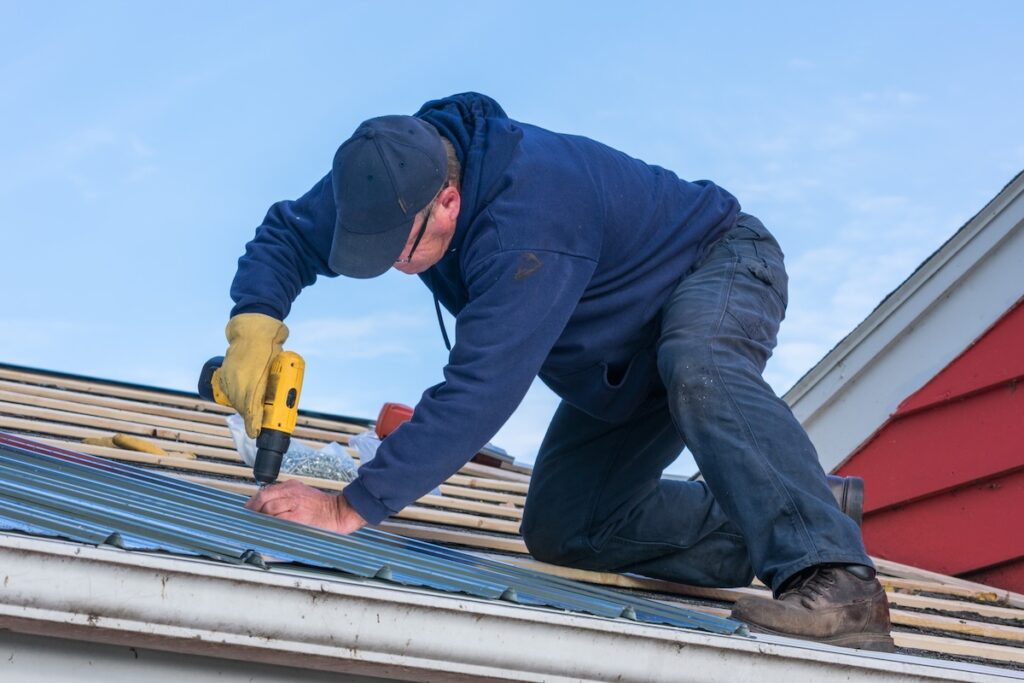
If rot or soft spots are found in the plywood or OSB decking, those sections are cut out and replaced. Roofers then install a new underlayment—a moisture barrier that adds protection beneath the shingles.
Modern underlayments are synthetic, tear-resistant, and designed to repel water more effectively than older felt paper. They also improve ventilation and temperature control within the attic.
5. Replace and Seal Shingles
New shingles are carefully woven into the existing roof to create a seamless, watertight surface.
- Matching shingles in color and texture ensures visual consistency.
- Sealant is applied beneath edges and nail heads to prevent seepage.
- Nearby shingles are checked to confirm they’re still properly sealed.
This attention to detail helps your roof maintain both its appearance and durability.
6. Re-Seal Flashing and Penetrations
Flashing around chimneys, vents, and skylights is inspected and resealed as part of the repair process.
- Metal flashing may be replaced if corroded or loose.
- Rubber gaskets around vent pipes are renewed to prevent leaks.
- Caulking is refreshed to close any minor gaps.
Because these areas experience the most stress from wind and temperature changes, regular maintenance is essential for leak prevention.
7. Final Inspection and Cleanup
Before finishing, your roofing team performs a complete inspection to ensure the leak is fully resolved. Debris is cleared, and surrounding areas are checked for any signs of water intrusion.
Homeowners receive an update on what was repaired, what to monitor, and how to maintain the roof for long-term reliability.
DIY Roof Repair Tips
Not every leak requires immediate professional service. Some minor issues—like a small nail puncture or loose shingle—can be temporarily repaired until help arrives. However, safety and caution should always come first.
Temporary Fixes You Can Try
- Use Roofing Cement: Apply a thick layer over small cracks or holes in flashing or shingles.
- Install a Tarp Cover: Secure a tarp over the affected area using wood strips and nails to keep out water until a permanent repair is made.
- Seal Small Gaps: Silicone caulk can temporarily stop leaks around vents or nail heads.
- Replace a Missing Shingle: If accessible, slide a new shingle into place and secure with roofing nails and adhesive.
These steps provide short-term relief but shouldn’t replace a full inspection. A professional roofer can confirm whether the issue is isolated or part of a larger problem.
When to Avoid DIY Repairs
- The roof pitch is steep or slippery.
- You’re unsure where the leak originates.
- The damage appears widespread or structural.
- Mold or sagging ceilings are visible indoors.
Attempting unsafe or untested repairs can make leaks worse or void manufacturer warranties. When in doubt, call a professional team serving Apex and surrounding areas who can safely assess the situation.
How to Prevent Future Roof Leaks
Prevention is always cheaper—and safer—than emergency repair. Here are key habits to protect your roof year-round.
- Schedule Annual Inspections: Have your roof professionally inspected once a year, ideally after winter or major storms.
- Keep Gutters Clean: Clogged gutters can push water under shingles and cause leaks along edges.
- Trim Nearby Trees: Overhanging limbs can scrape shingles and drop debris that traps moisture.
- Check Attic Ventilation: Proper airflow prevents heat buildup and condensation that lead to leaks.
- Replace Aging Sealant: Reapply caulking around flashing and vents as it begins to crack or peel.
These small steps can add years to your roof’s lifespan and dramatically reduce the likelihood of leaks in Apex and surrounding areas.
Comparing DIY vs Professional Roof Leak Repair
| Category | DIY Fix | Professional Repair |
| Cost | Low upfront cost for materials | Higher initial investment but long-term savings |
| Durability | Temporary—may last weeks | Permanent with warranties and full sealing |
| Safety | Risk of falls or injury | Trained professionals with safety gear |
| Diagnosis Accuracy | Based on visible damage | Full inspection including hidden leaks |
| Time Required | 1–2 hours for small patches | 1 day for standard repairs |
While DIY patches can hold for a short period, they rarely solve the root issue. Professional roofers not only repair the visible problem but also check for hidden damage below the surface.
Protect Your Home From a Leaky Roof
Your roof is your home’s first line of defense against weather, debris, and time itself. When leaks appear, acting fast can prevent damage from spreading—and keep your home safe, dry, and comfortable. Understanding the basics of roof leak repair helps you make informed choices and recognize when to seek help.
At Barkley Jensen Roofing, we’ve built our reputation on reliable craftsmanship and transparent service. Homeowners in Apex and surrounding areas trust our team to locate leaks accurately, repair them efficiently, and help prevent future problems through proper maintenance and education.
If you’ve spotted signs of a leak or need professional assistance, don’t wait until it worsens—contact us today to schedule an inspection or repair service. Our friendly experts are ready to restore your peace of mind and your home’s protection.