





 Get Started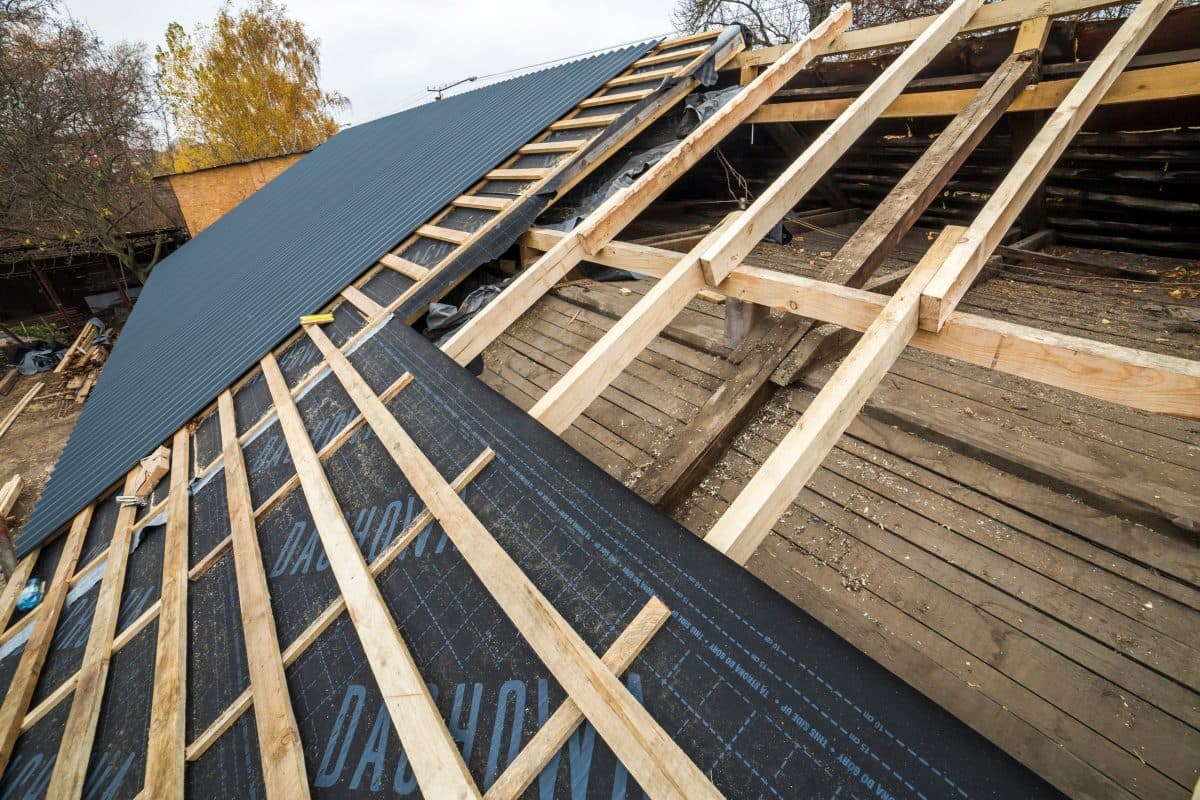
Where Does Ice And Water Shield Go On A Roof (6 Pro Tips)
08.18.2026
12 Min Read
Most homeowners never see the layers that make a roof system work — they just see the shingles on top. But what goes underneath matters just as much as what is visible from the street. Where does ice and water shield go on a roof is one of the most important installation questions a contractor should have a clear answer to, because getting it wrong leaves the most vulnerable areas of your roof exposed. Every layer of a well-built roof system has a specific job to do, and ice and water shield is the one that covers the spots where standard underlayment simply is not enough.
Here is what this guide covers:
- What ice and water shield is and how it works differently from standard underlayment
- The six areas of a roof where ice and water shield should always be installed
- Why certain areas of a roof need this level of protection and others do not
- How to evaluate whether your current or future roof has proper coverage
- What building codes in North Carolina require and what best practice exceeds those requirements
What Ice and Water Shield Actually Does

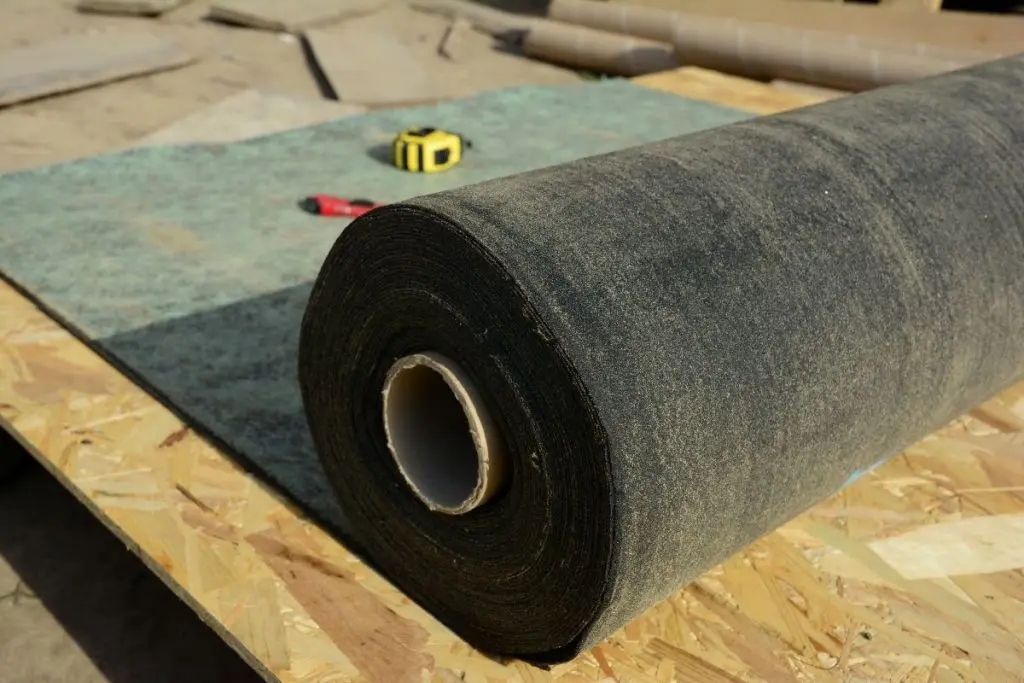
Ice and water shield is a self-adhering waterproof membrane installed directly to the roof decking before underlayment or shingles go on. Unlike standard felt or synthetic underlayment, which relies on lapping and gravity to shed water, ice and water shield bonds directly to the deck and seals around fasteners as they are driven through it. That self-sealing property is what makes it uniquely suited for areas where water can back up, pool, or find its way under shingles through means other than simple gravity.
The product gets its name from two specific threats it was originally designed to address: ice dams and wind-driven rain. Ice dams form at the eaves of a roof when heat escaping from the attic melts snow on the upper sections, and that meltwater refreezes at the colder eave overhang. The resulting ice pushes back under the shingles where liquid water then infiltrates the roof assembly. Wind-driven rain creates a similar problem at rakes, valleys, and penetrations where water is pushed horizontally rather than falling vertically. In both cases, standard underlayment is not watertight enough to stop the infiltration, and ice and water shield is the correct solution.
For Apex and surrounding areas homeowners, ice and water shield is relevant year-round. North Carolina winters bring enough freeze-thaw activity to create ice dam conditions, and the summer thunderstorm season delivers wind-driven rain that tests every edge and penetration on the roof system.
Ice and water shield delivers:
- Watertight seal at the deck level: The self-adhering membrane bonds directly to the decking, creating a barrier that does not rely on lapping or gravity to function
- Self-sealing around fasteners: Nails driven through the membrane are sealed by the adhesive layer, preventing the nail penetrations from becoming water entry points
- Ice dam protection: Applied at the eaves, it stops meltwater from backing up under shingles during freeze-thaw cycles
- Wind-driven rain resistance: Applied at rakes, valleys, and penetrations, it resists the horizontal water movement that standard underlayment cannot stop
- Redundant protection at high-risk zones: Even when shingles are lifted or damaged by wind or impact, the membrane below continues to provide a watertight barrier
6 Places Ice and Water Shield Should Be Installed on Every Roof
Knowing where ice and water shield goes is the key to evaluating whether a roof was built correctly or whether a contractor cut corners by applying it only where required by code rather than where best practice dictates. Here are the six areas where it should always be present.
1. Along the Eaves
The eave is the first and most universally required application for ice and water shield, and it is the area most directly tied to ice dam protection. Ice and water shield applied at the eave creates a watertight zone that stops backed-up meltwater from penetrating the roof assembly even when it works its way under the shingles above.
In North Carolina, building code requires ice and water shield at the eaves for a minimum distance that extends from the edge of the roof to a point at least 24 inches inside the exterior wall line. In practice, this typically means applying the membrane for the first three to six feet up from the eave edge depending on the roof pitch. On lower-pitched roofs where water drains more slowly, extending the coverage further up the eave is considered best practice.
- Minimum code coverage extends 24 inches inside the interior wall line
- Best practice on low-slope roofs extends coverage further to account for slower drainage
- The membrane should overlap the drip edge flashing at the eave by a minimum of half an inch
2. In All Valleys

Roof valleys are the low points where two roof planes meet, and they carry more water volume during a rain event than any other area of the roof surface. That concentrated water flow, combined with the change in direction at the valley, creates conditions where standard underlayment regularly fails to keep water out.
Ice and water shield in valleys provides a continuous watertight membrane beneath whatever valley treatment is used above it, whether open metal valley flashing, closed-cut shingles, or woven shingles. Even in closed valleys where shingles cover the entire surface, the membrane below provides redundant protection that becomes critical if any shingle fails or lifts along the valley line.
- Apply ice and water shield in a centered strip down the full length of each valley
- The membrane should extend at least 18 inches on each side of the valley centerline, wider for low-slope applications
- Valley ice and water shield should be installed before any underlayment on the adjacent roof planes
3. At All Penetrations
Every pipe boot, exhaust vent, skylight, chimney, and mechanical penetration through the roof surface creates a potential entry point for water. Flashing seals these penetrations, but flashing alone is not a fully redundant system — it relies on sealants and metal-to-surface contact that can fail over time.
Ice and water shield applied around penetrations provides a watertight base layer that functions even if the flashing above it develops a minor separation or the sealant cracks with age. For Apex and surrounding areas homeowners with multiple HVAC penetrations, skylights, or chimneys, this application area can be among the most important on the entire roof.
- Apply a strip of ice and water shield centered on each penetration before flashing is installed
- The membrane should extend at least 12 inches in all directions from the penetration point
- On chimneys, ice and water shield should cover the full area where the chimney meets the roof plane before step flashing and counter flashing are applied
4. Along the Rakes
The rake edges of a roof are the sloped sides that run from the eave up to the ridge on a gable end. They are exposed to wind from the side, which means wind-driven rain hits the rake edge and can be pushed up and under the shingles along the entire sloped edge during a significant storm event.
Ice and water shield applied along the rakes provides protection against this lateral water penetration. While some building codes do not specifically require rake coverage, best practice in areas with active storm seasons includes at least 18 to 24 inches of membrane along each rake edge from the eave up to the ridge.
- Rake coverage is particularly important on gable-end roofs where the wind exposure is highest
- The membrane should overlap the rake drip edge and be lapped by the field underlayment above it
- On homes in Apex and surrounding areas with significant storm exposure, rake coverage is a quality installation indicator worth asking about specifically
5. Around Dormers and Sidewalls
Where the roof surface meets a vertical wall, whether at a dormer, an addition, or a transition to a higher section of the structure, the junction between the roof and the wall is one of the most reliable leak sources on any residential roof. Step flashing and counter flashing seal this joint, but the area benefits significantly from an ice and water shield base layer that provides redundant protection behind the flashing.
Ice and water shield at dormers and sidewalls should cover the full width of the wall-to-roof transition and extend several inches up the vertical surface under the siding or counter flashing above.
- Apply before step flashing is installed, not after
- Extend the membrane at least 6 inches up the vertical surface
- On dormers, treat all four sides where the dormer meets the main roof plane
6. At the Ridge on Low-Slope Roofs
On low-slope roofs where the pitch is less than 4:12, water drains more slowly and wind has more opportunity to push moisture under shingles at the ridge. While ice and water shield at the ridge is not a universal requirement, it is considered best practice on low-slope applications where the reduced pitch creates conditions that standard underlayment does not handle as reliably.
- Apply a centered strip along the full length of the ridge before ridge cap installation
- The membrane at the ridge should not block or cover ridge vent openings
- Low-slope roofs with pitches below 3:12 benefit most from ridge-level membrane coverage
Common Mistakes Contractors Make With Ice and Water Shield
Understanding where the membrane goes also means knowing what shortcuts look like. Here are the most common installation errors that reduce the effectiveness of ice and water shield without being immediately obvious during a visual inspection.
- Undersized eave coverage: Applying the membrane only to the minimum code requirement at the eave and no further, even on low-slope sections where extended coverage would better protect against ice dam backup. Code minimums are the floor, not the standard for quality work.
- Skipping valley coverage: Using only standard underlayment in valleys rather than ice and water shield, which leaves the highest-volume drainage area on the roof without the level of protection it needs. This shortcut is particularly common on cost-conscious jobs where material savings are prioritized over performance.
- Installing over wet or dirty decking: Ice and water shield must adhere fully to the deck to function. Dust, moisture, or debris on the decking surface compromises the bond and creates areas where the membrane lifts and allows water infiltration beneath it. Proper deck preparation before membrane installation is a non-negotiable quality step.
- Improper lapping: Ice and water shield installed in multiple strips must be lapped correctly, with upper strips overlapping lower ones in the direction of water flow. Reversed or insufficient laps create seams where water can find its way between the membrane and the deck.
- Covering penetrations without centering: Applying the membrane to one side of a penetration rather than centering and wrapping it fully around the pipe boot or vent base. A partially covered penetration leaves the exposed side vulnerable to the same water infiltration the membrane was installed to prevent.
How to Know If Your Roof Has Proper Ice and Water Shield Coverage
Once a roof is fully installed, the membrane is completely hidden under underlayment and shingles. That means the time to verify coverage is before installation begins or during the installation process, not after the roof is complete.
Ask Before the Job Starts
Before signing a contract for a new roof in Apex and surrounding areas, ask your contractor specifically where ice and water shield will be applied and what product they use. A quality contractor will be able to tell you the coverage areas, the product specification, and how the coverage relates to both code requirements and best practice for your specific roof configuration. Vague answers or resistance to the question are worth noting.
Request Inspection During Installation
On any roofing project, you have the right to observe the installation before shingles cover the underlayment. The window between decking preparation and shingle installation is the only time the membrane placement is visible. Taking photographs of the membrane placement provides documentation of what was installed even after the roof is complete.
Look for Documentation in the Estimate
A detailed written estimate should specify the ice and water shield product being used and the areas where it will be applied. Generic line items that say only “underlayment” without distinguishing between standard underlayment and self-adhering membrane are a prompt to ask for more specific information before work begins.
Check Building Permit Documentation
In North Carolina, roofing work that requires a building permit will have an inspection associated with it. The permit documentation and inspection record can confirm whether the installation met code requirements for ice and water shield coverage at the eaves. Contact your local building department if you want to verify the inspection history on a recently completed roof.
Protecting Your Apex Home Starts Below the Shingles
Where does ice and water shield go on a roof is not a complicated question, but the answer matters significantly for the long-term performance of the roof system. The six areas covered above — eaves, valleys, penetrations, rakes, dormers, and ridge on low-slope applications — represent the complete picture of where the membrane belongs and why. Every one of those areas represents a point where water can find its way into a roof assembly through means that standard underlayment is not designed to stop.
At Barkley-Jensen Roofing and Restoration, ice and water shield placement is part of every quality installation we complete for homeowners in Apex and surrounding areas. We are GAF Certified, licensed, and insured in North Carolina, and we back every project with a 5-year workmanship warranty and transparent communication about every material choice we make. If you want to know exactly what goes into your roof before any work begins, contact us today and we will walk you through every layer.